Kiel Mission 3 Screen Shots - NOTE! There are over 60 1024x768 images on this page!
(times are relative to the planned launch time, 3pm EST on Saturday
February 10th 1996)
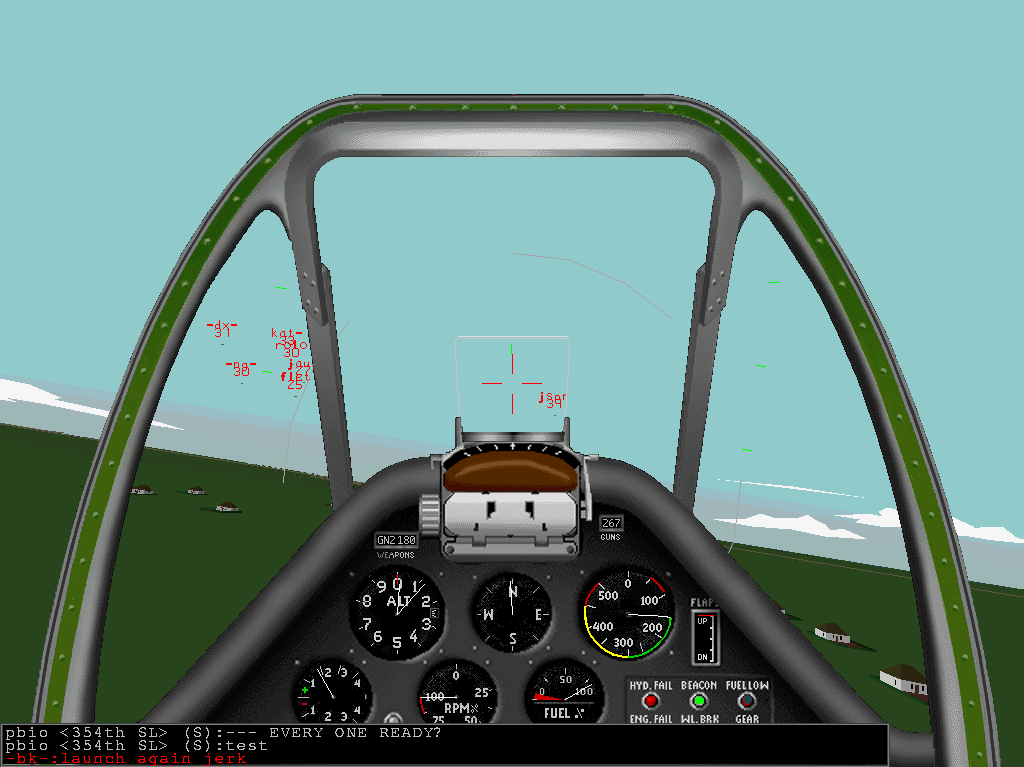
T+13 Just after taking off from Boxstead, Southern England. I took off immediately
after
DoK
had announced it OK for us to take off (but before "pbio", our squadron leader,
had given the order) to take some screenshots from the launch.
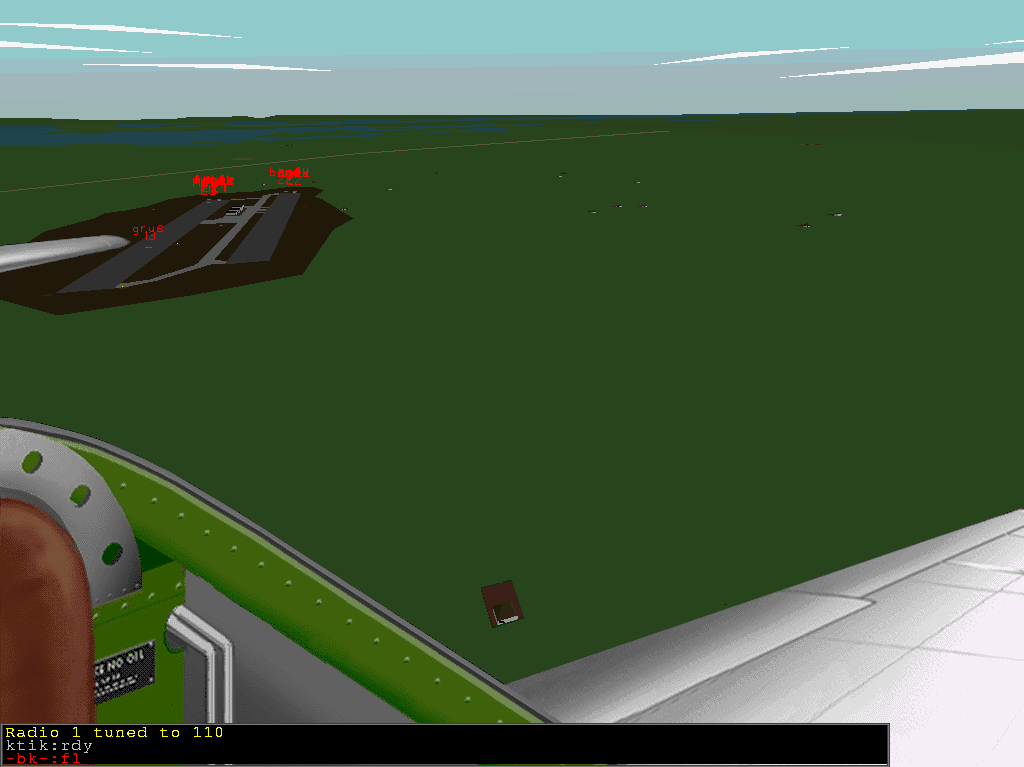
T+13 Looking back at the field, where the Sealer Squadron is forming at the end
of the runway.
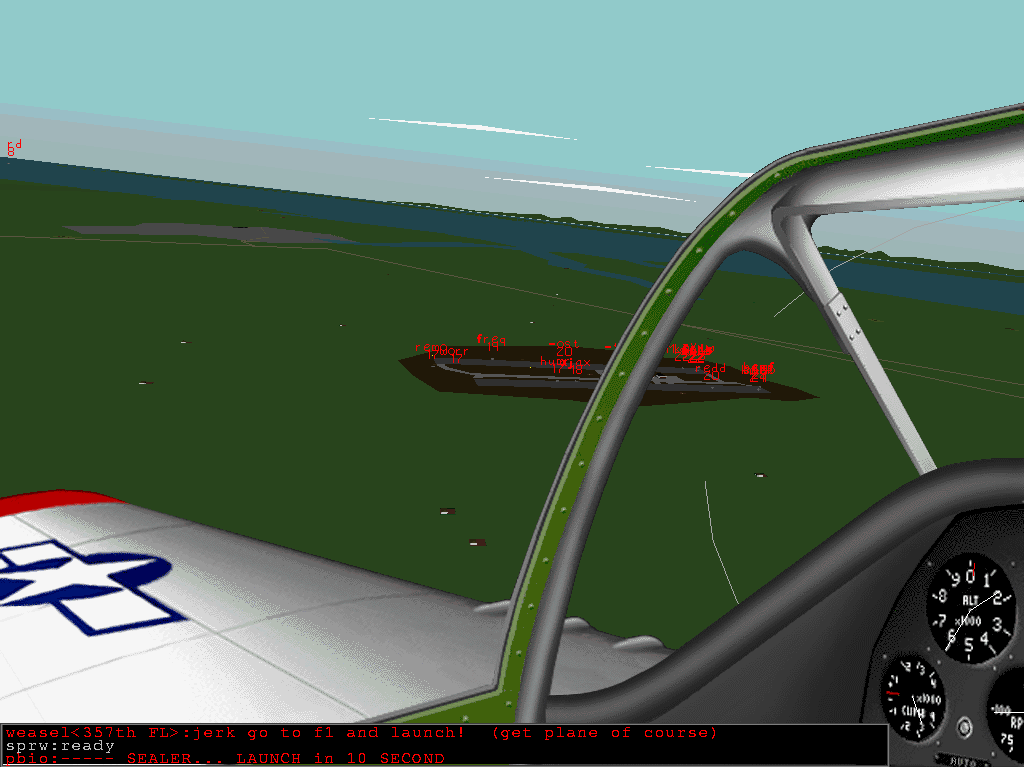
T+14 Here a lot of planes are speeding on the runway, about to take off.
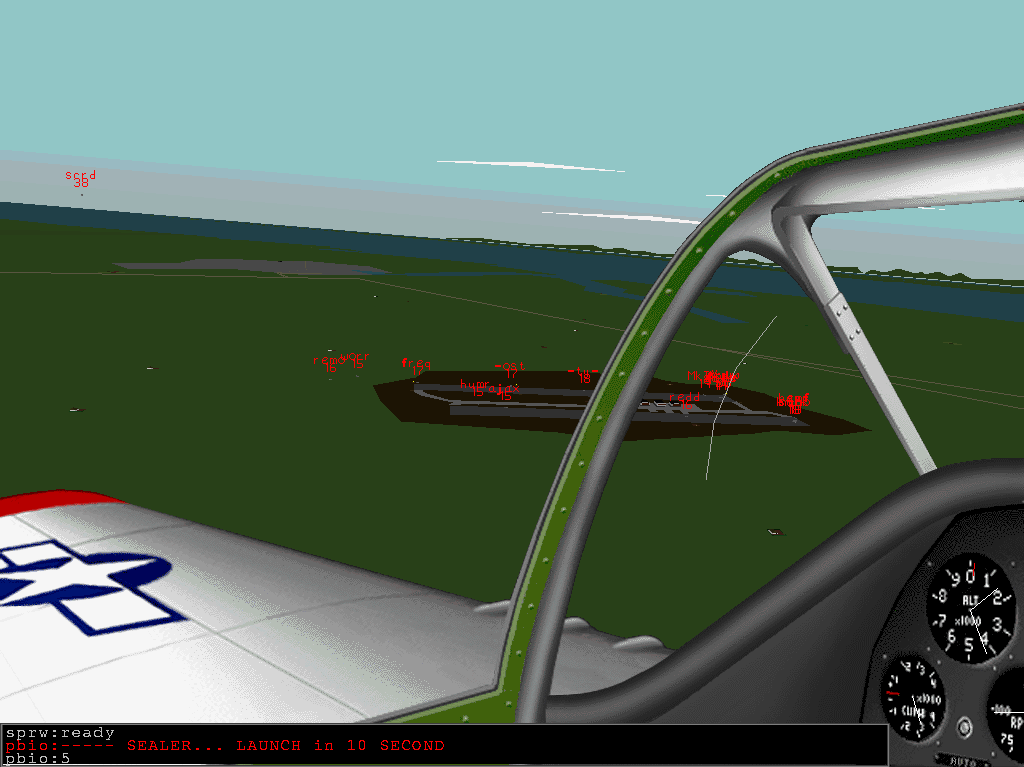
T+14 Here "scrd", "remo", "worr" and "freq" had just taken off, with many
others to follow close behind.
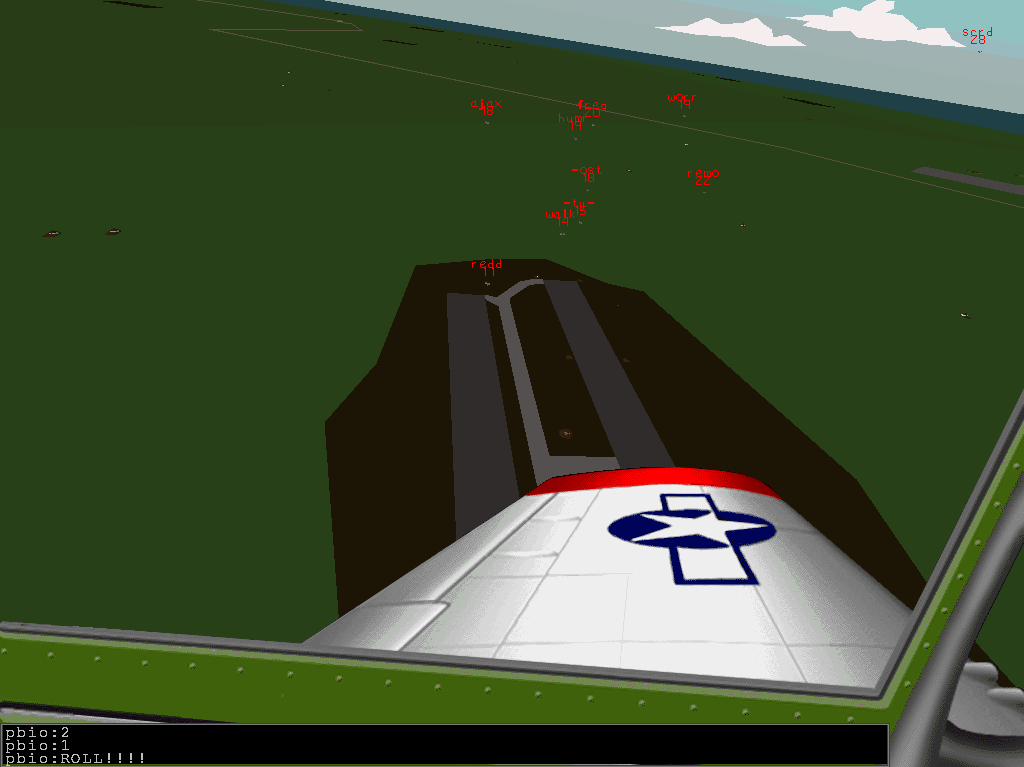
T+14 Back over the field, looking down at the planes taking off. There's my wingman
"walk", too...
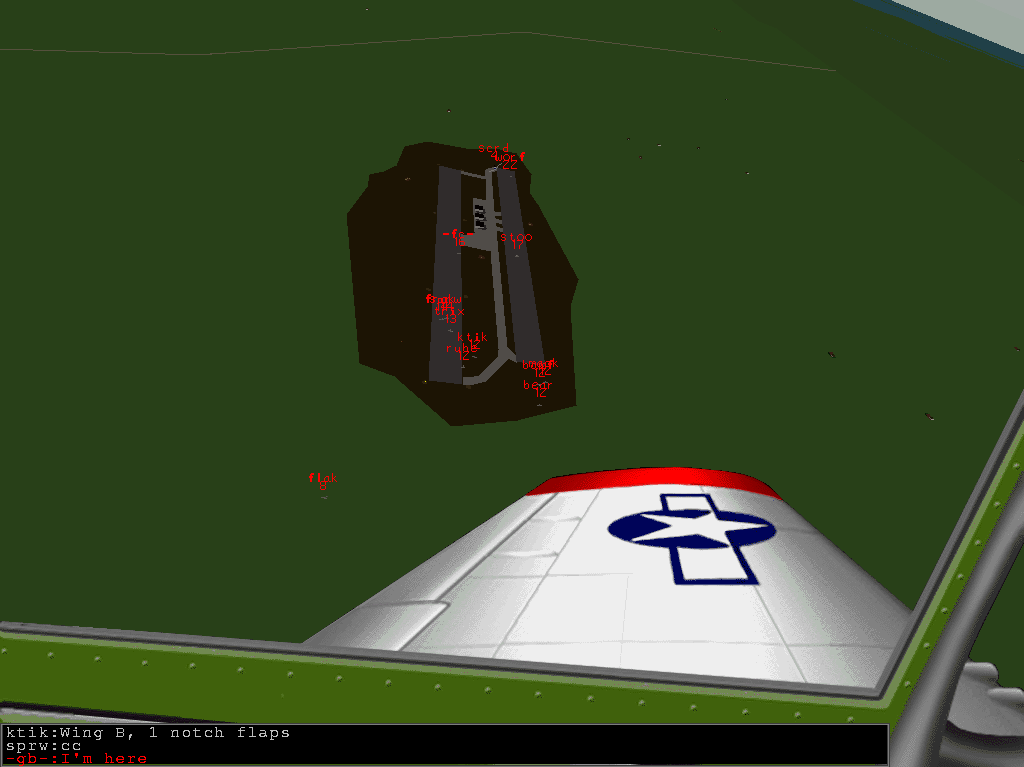
T+14 Looking down at our wing leader "ktik" taking off. He is also giving orders
on the radio.
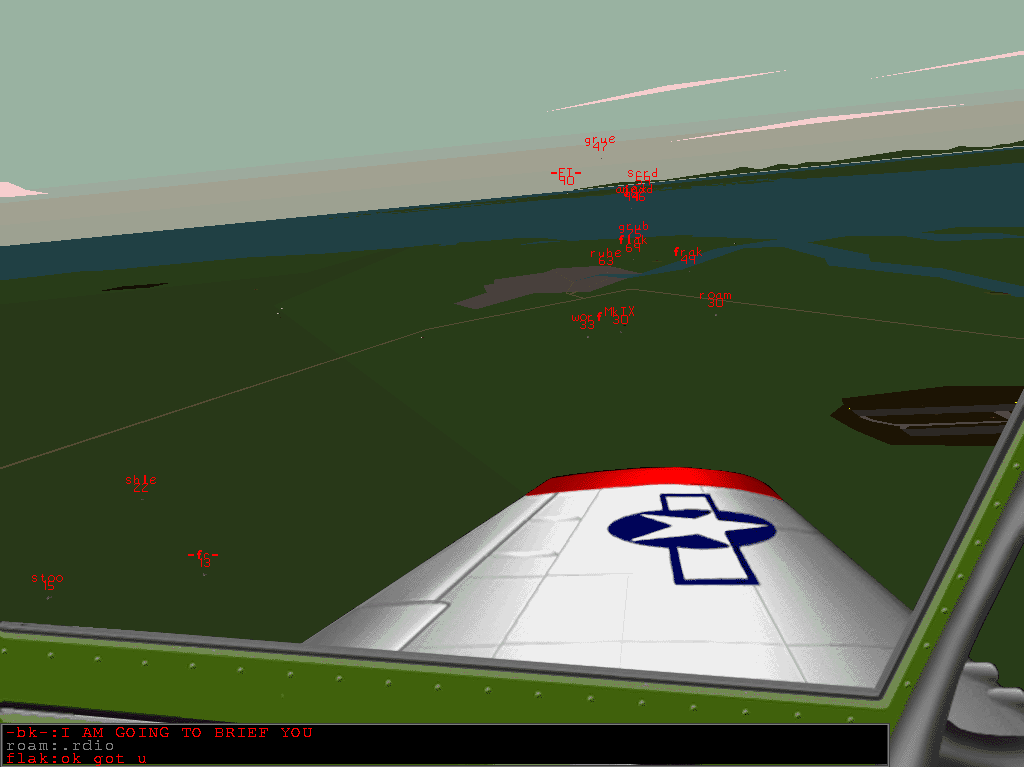
T+15 The escort fighters have taken off, the next step is to form up with our
wigmen and go find the bombers that took off from another field.
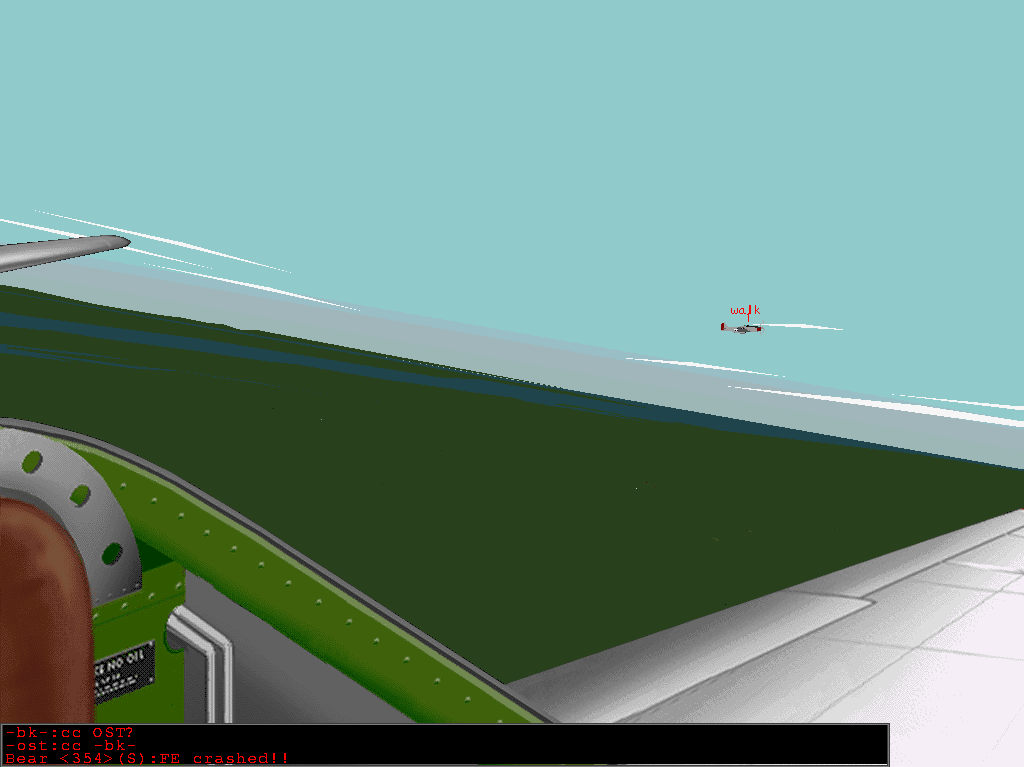
T+19 This is a good picture of my wingman "walk", on our way to find the bombers.
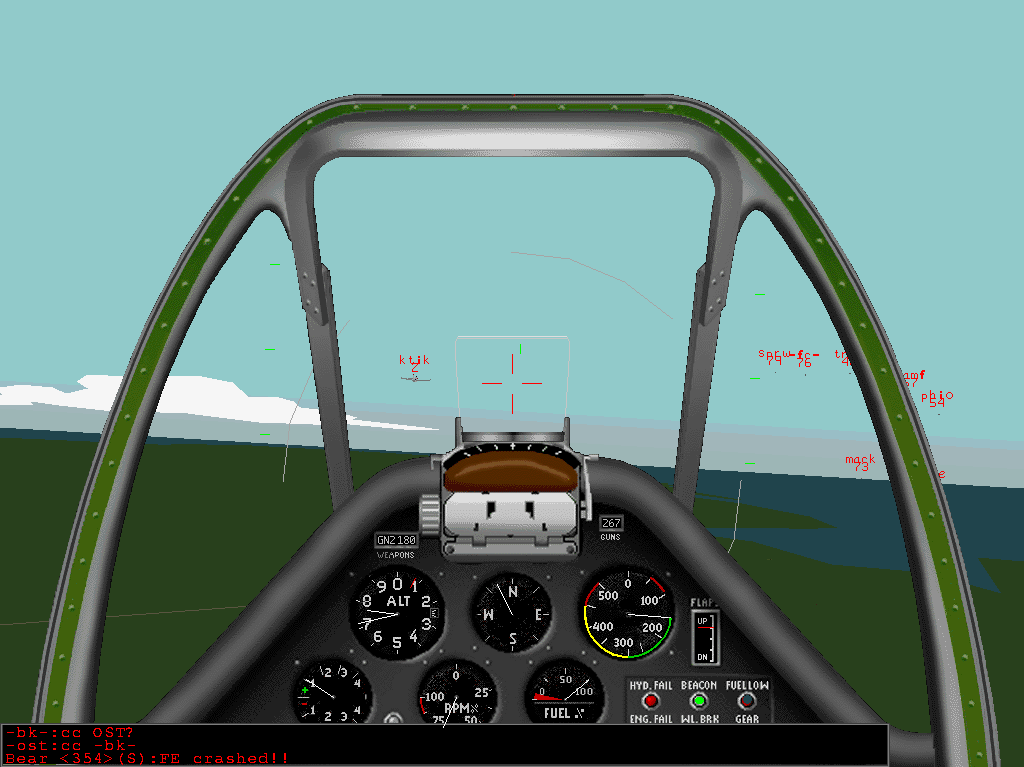
T+19 And there goes my wing leader "ktik"... Visible on the right is our sealer
squadron leader "pbio", among others.
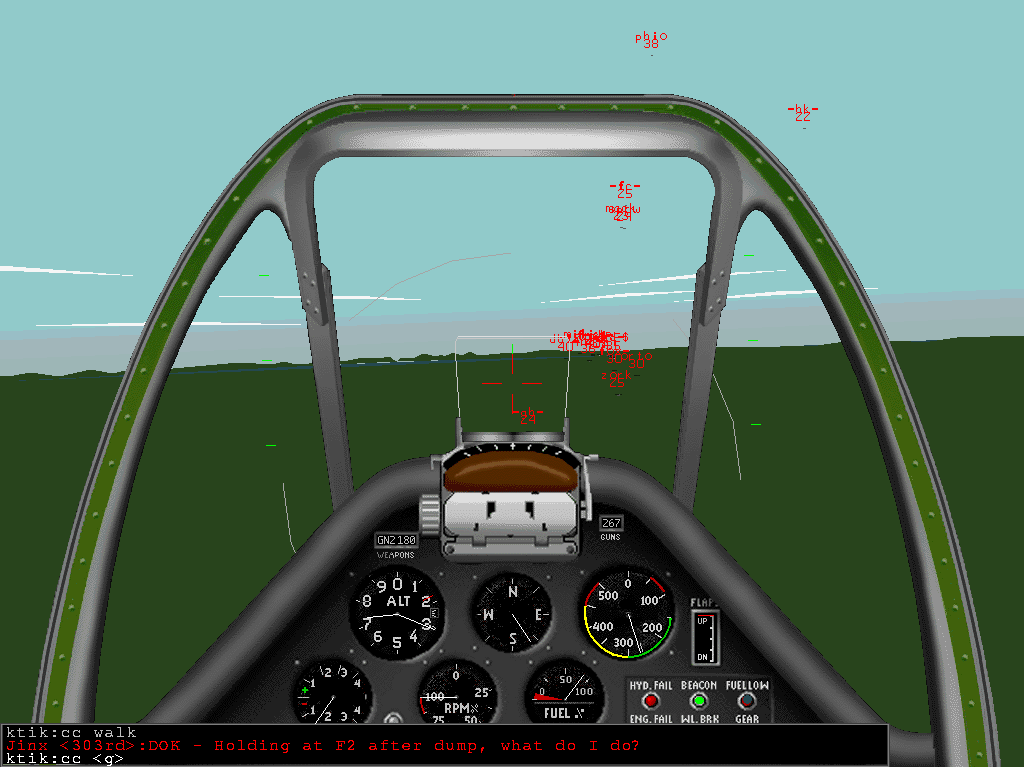
T+30 Found the bomber group. The leaders
"-bk-"
and "pbio" are staying high above the bombers.
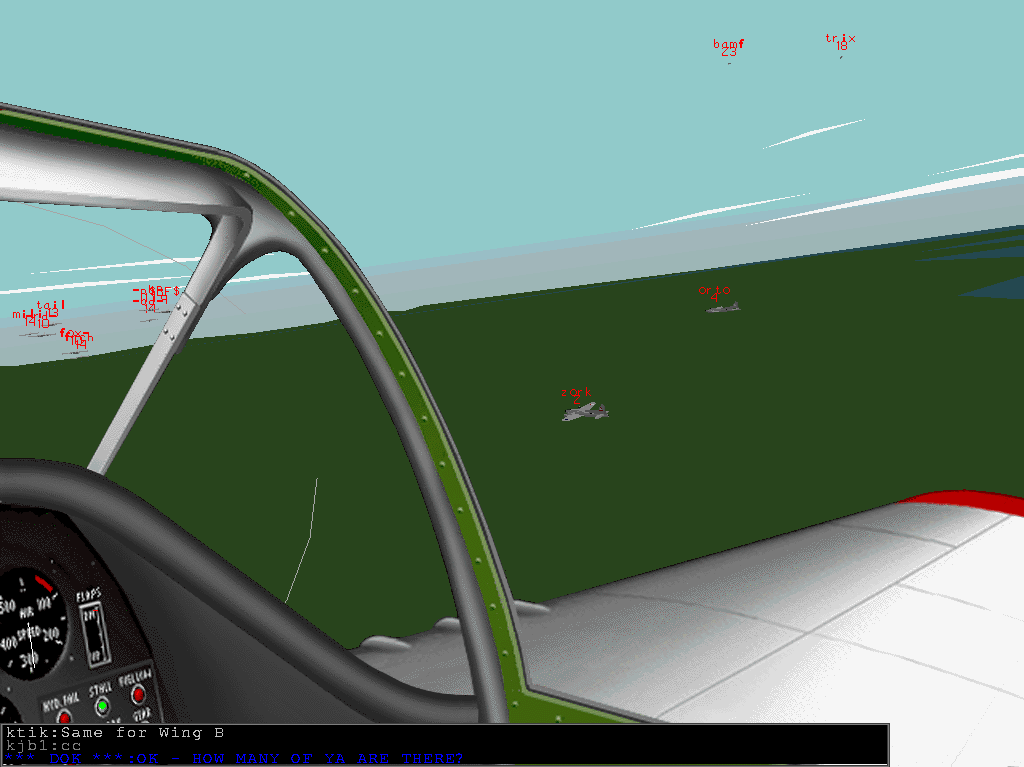
T+30 Taking pictures of the bombers. Here are "zork" and "orto"...
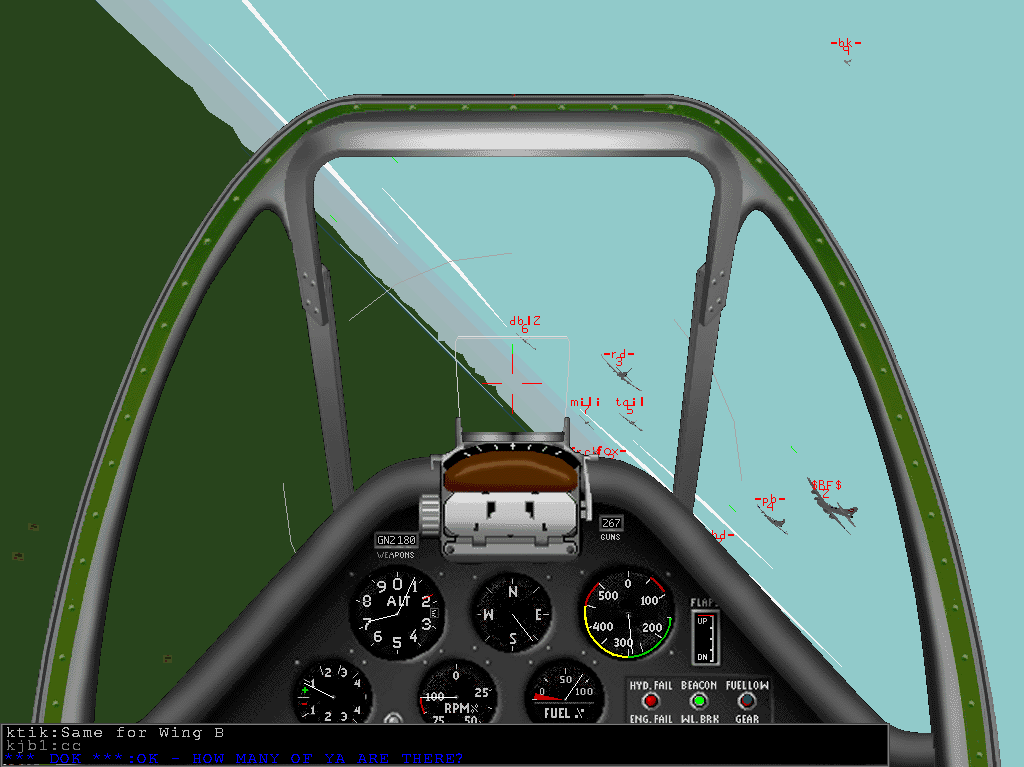
T+30 And here are "dbl2", "mili", "-rd-", "tail", "-pb-" and "$BF$", among
others. Looks like "-bk-" is diving to take a closer look, too...
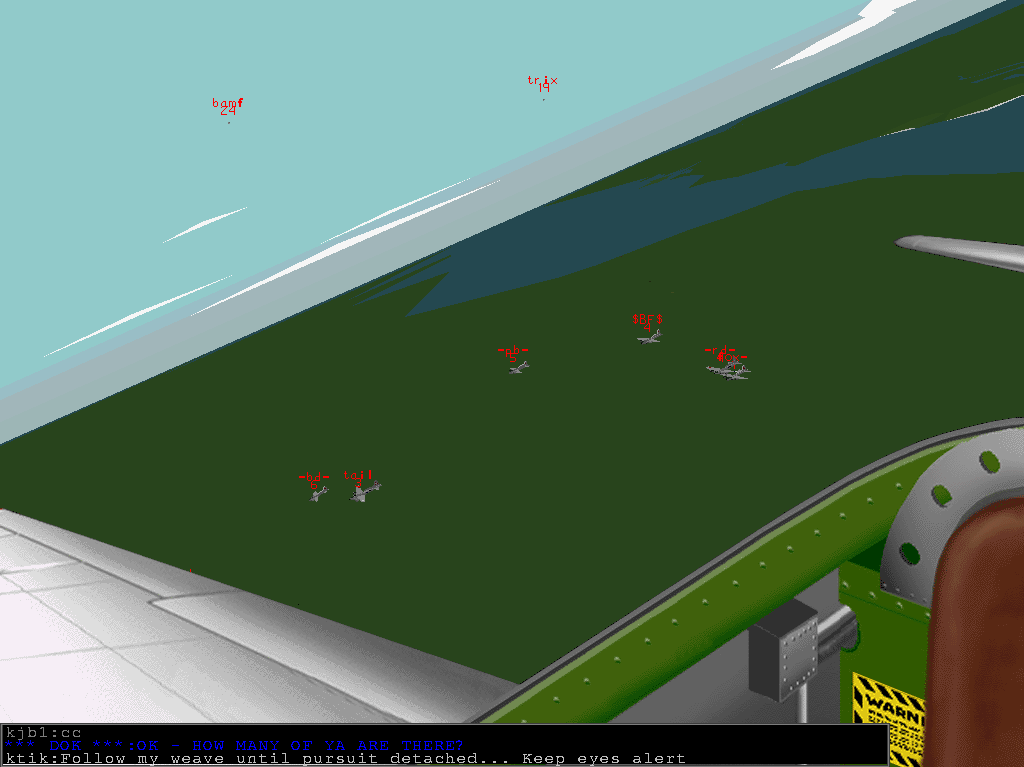
T+30 Another picture of the same bombers, from a different angle.
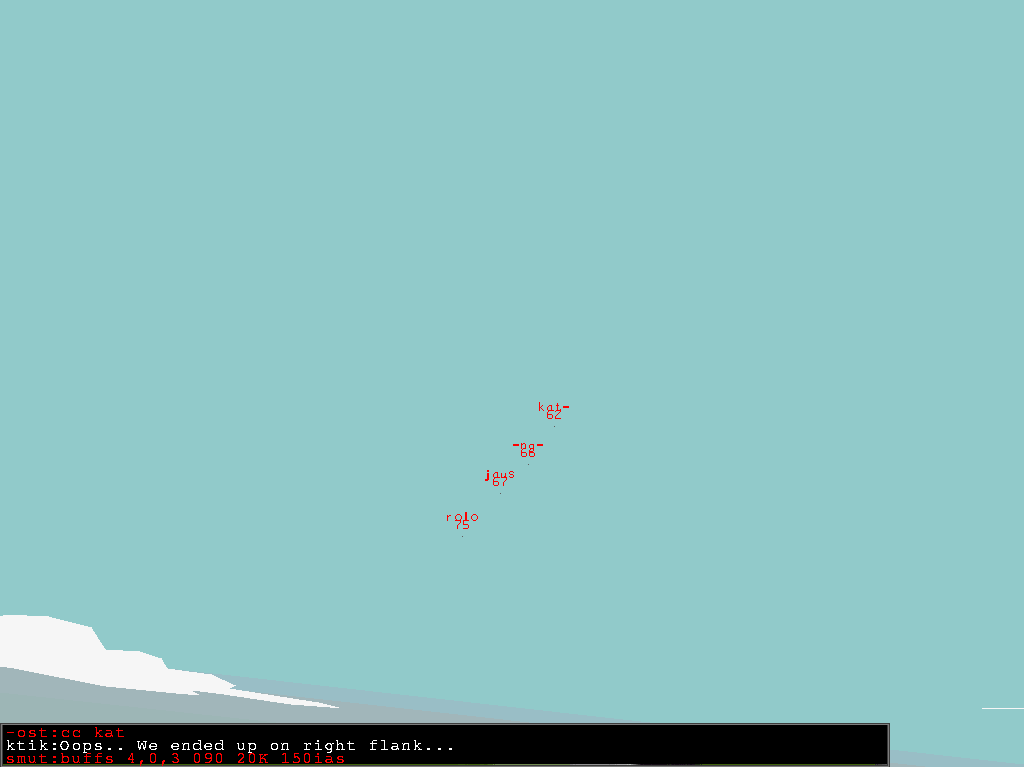
T+39 Here is a Recon wing of the 354th Squadron in perfect formation...
Looks almost like this ain't the first time "kat-", "-ng-", "jaus"
and "rolo" have flown in formation! :)
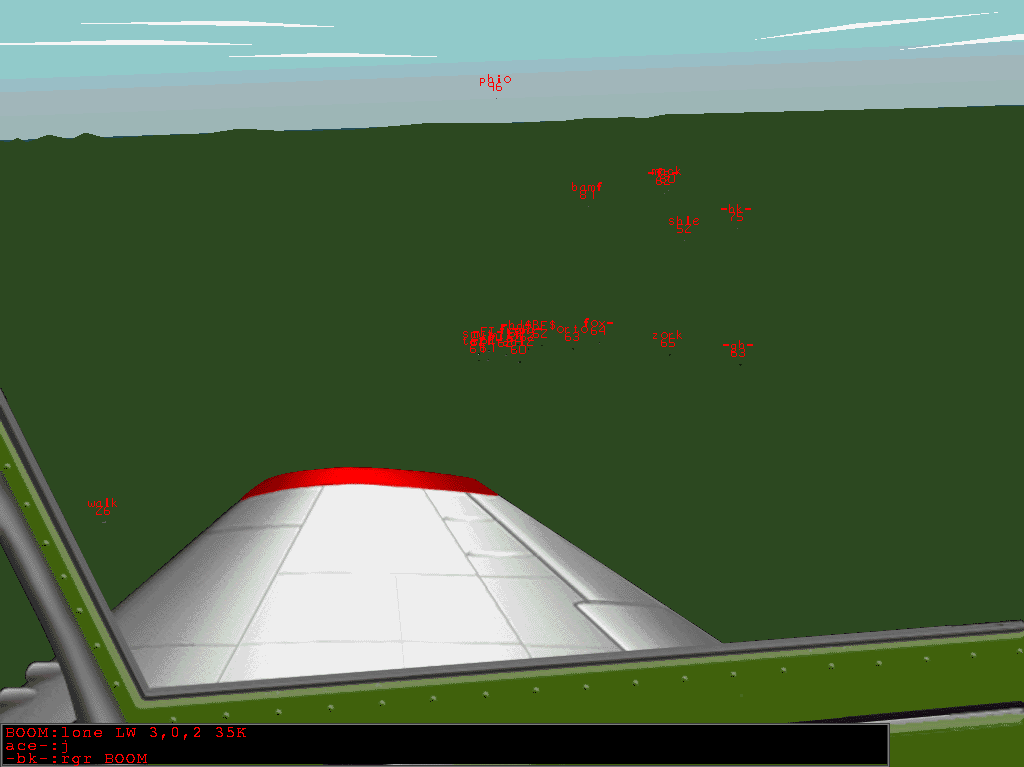
T+42 A good display of the escort tactics.. "walk" and myself on the left
flank (with "ktik" and "frak" though they are not visible), the bombers in the middle,
and Wing B on the right flank. Plus "pbio" above the bombers.
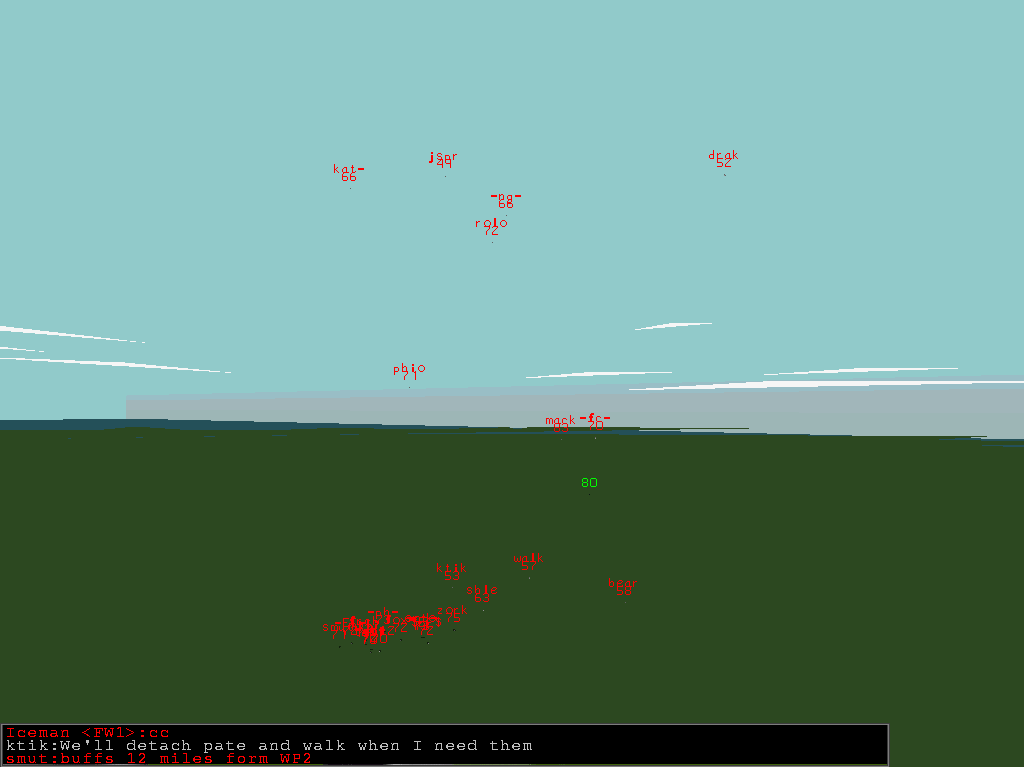
T+49 First contact with the enemy, deep inside enemy territory!
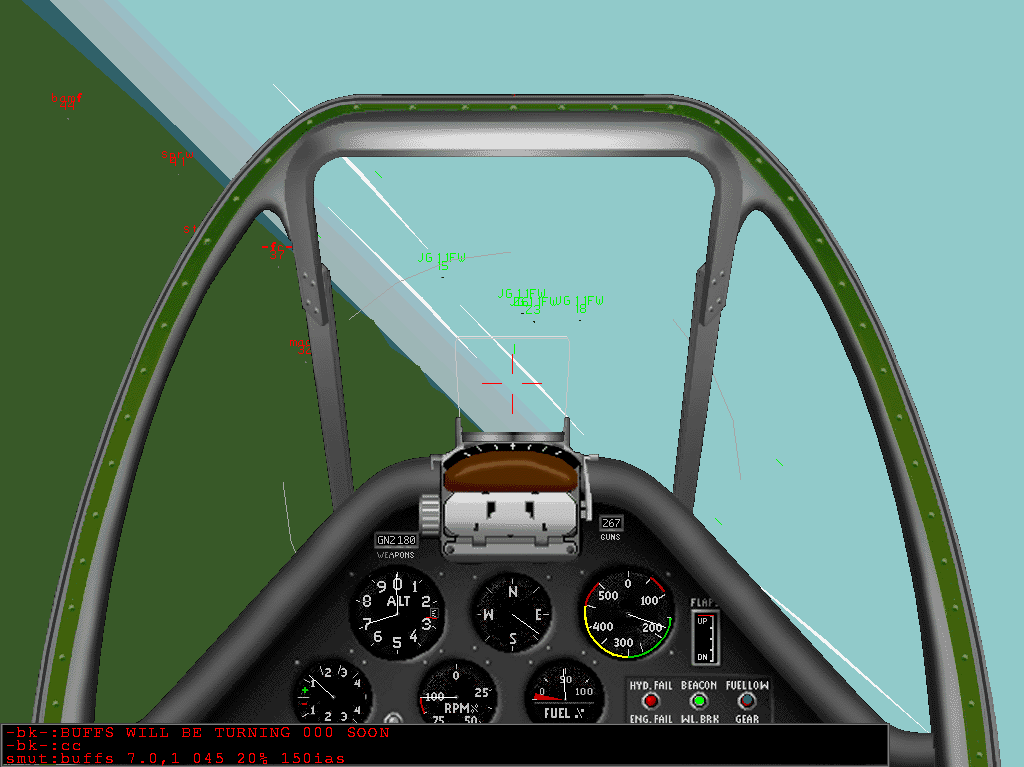
T+57 This is a scary picture indeed! Four enemy Focke-Wulffs screaming down
towards the bombers, with no escort fighters near enough to stop them. Lucky for us,
the host crashed some seconds after I took this screenshot!
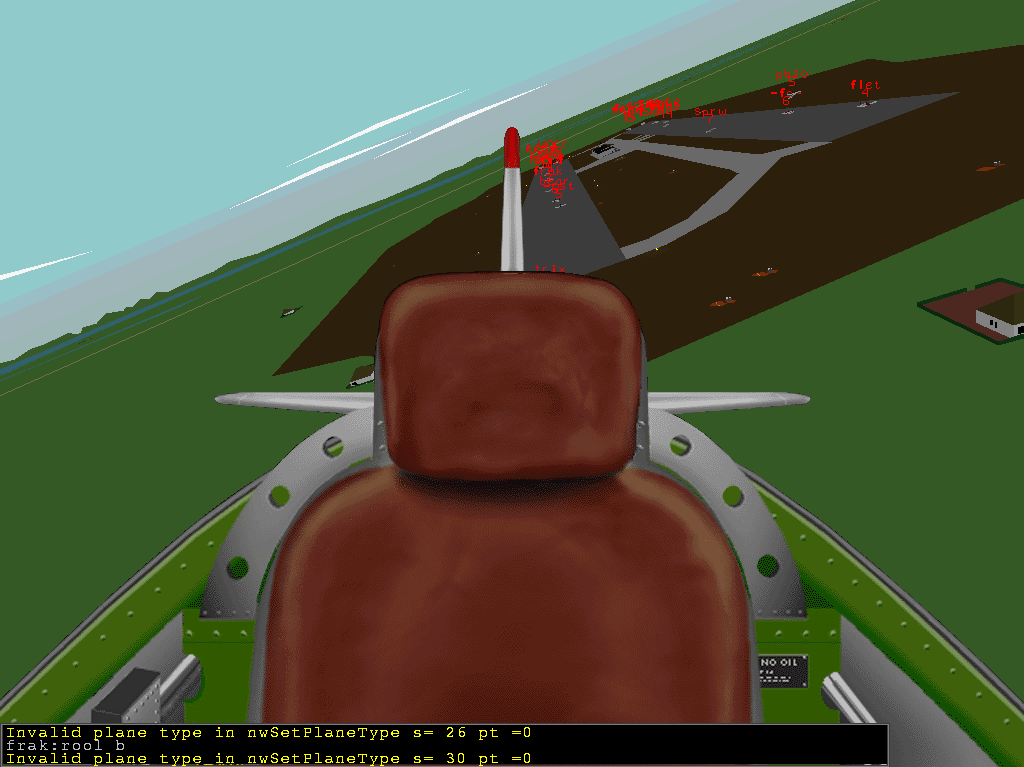
T+1:37 Taking off again after the host had been recompiled. This time I waited
until "pbio" cleared us for launch. "ktik" was missing, and so "frak" became the
wing leader for our Wing B.
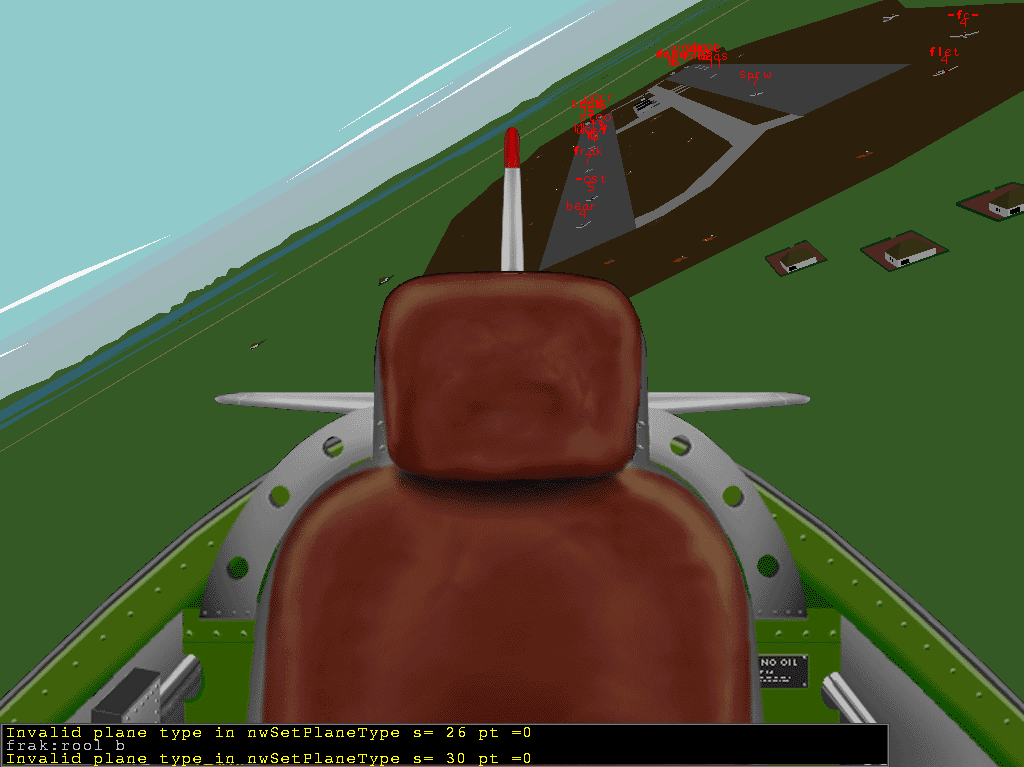
T+1:38 There is "frak", 2 planes behind my P51D...
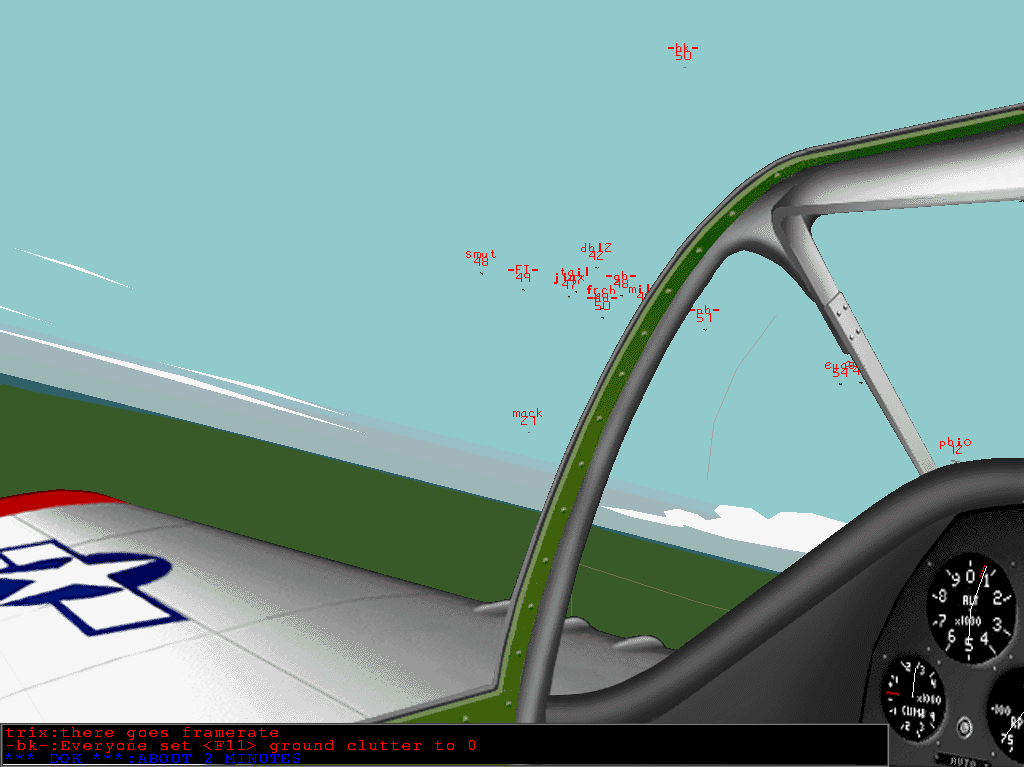
T+1:40 And there is the bomber group, lead by "smut"... We were getting much
better at finding them, this time it took only 3 minutes! :)
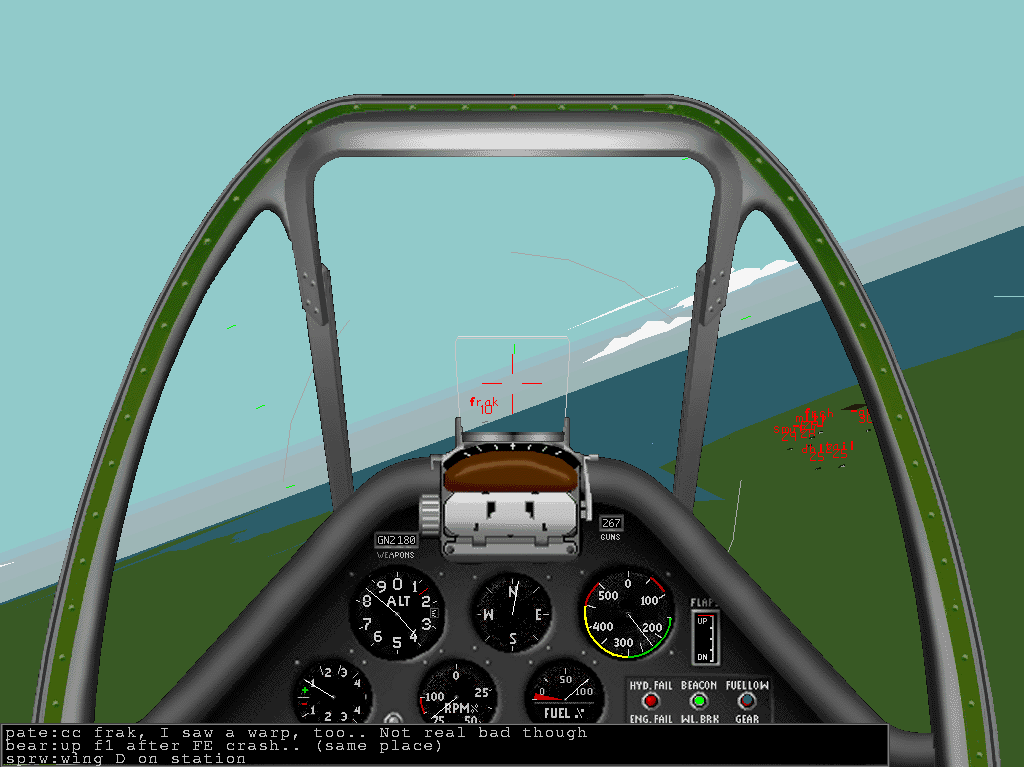
T+1:45 Following "frak", climbing to our assigned position on the left flank.
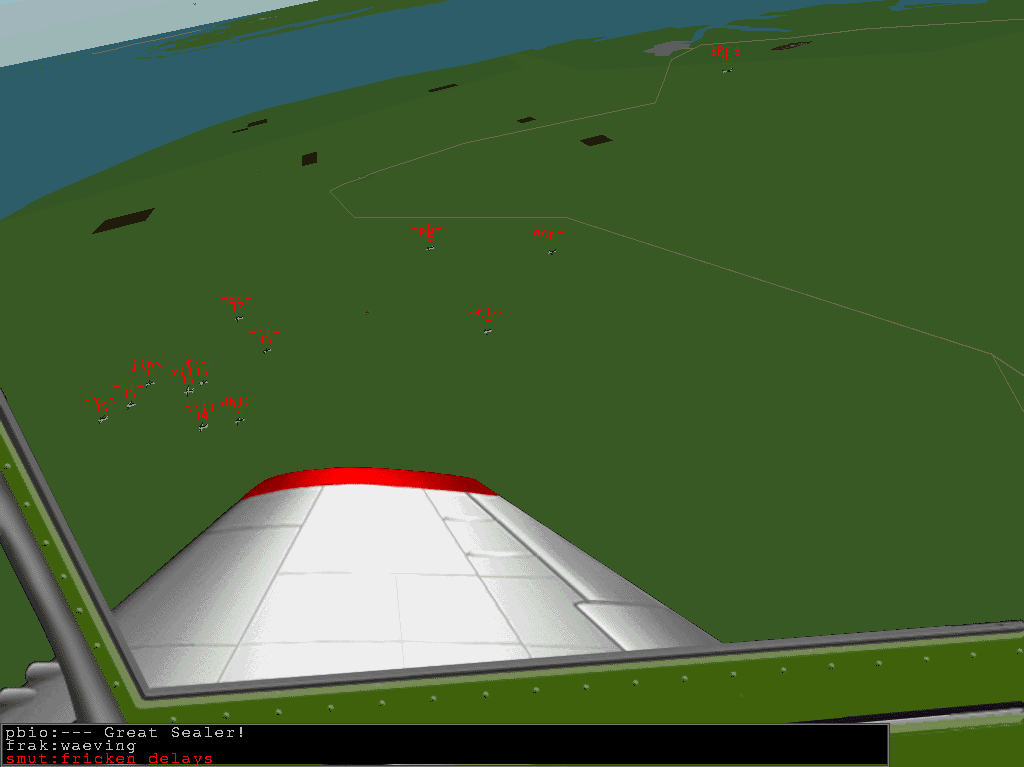
T+1:46 Looking down at the bombers, 13 of them visible.
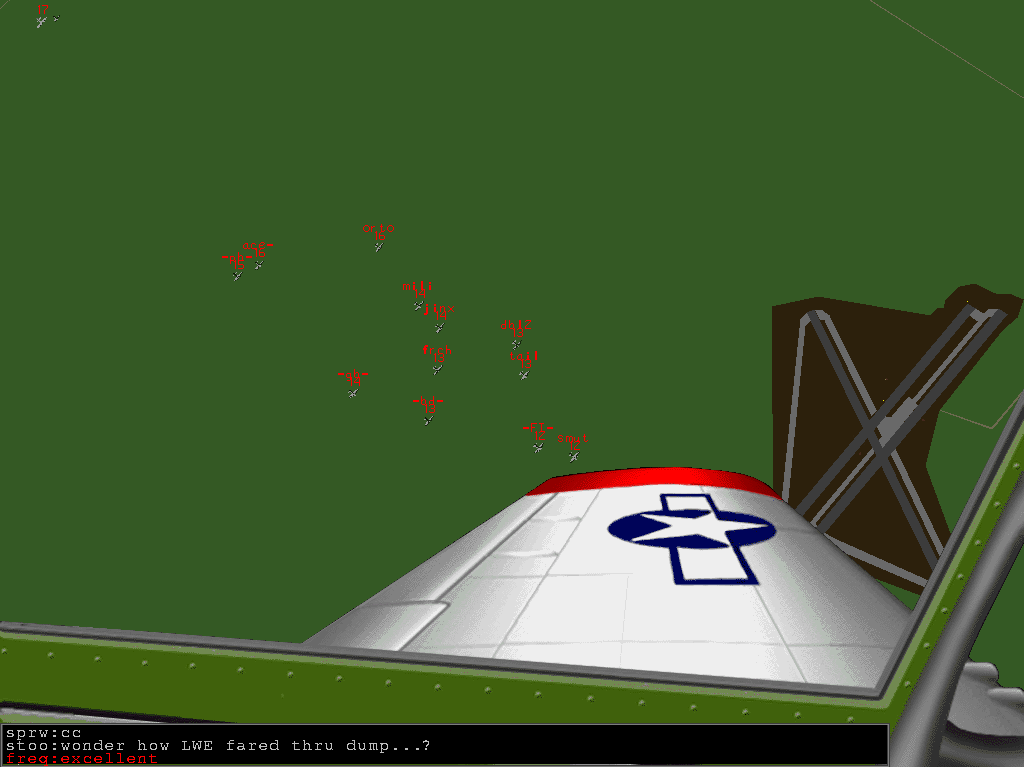
T+1:46 A good picture of the bomber group from straight above, just as they are
flying over the Molesworth airfield.
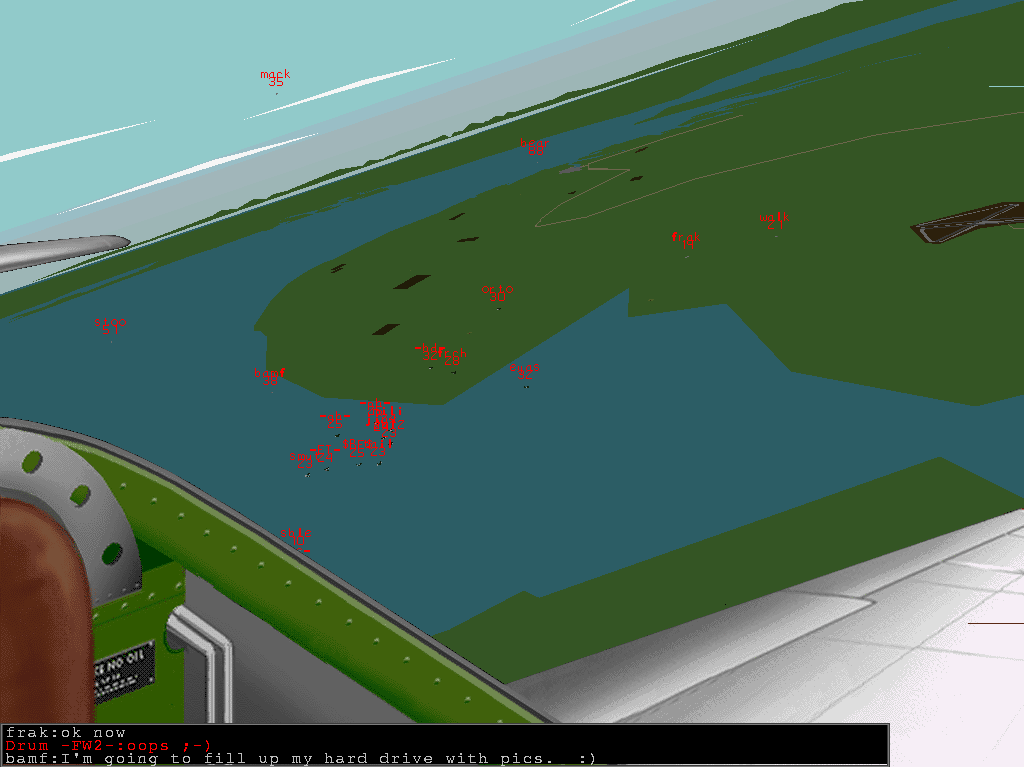
T+1:50 Bomber group and many of the escort fighters over South-East England.
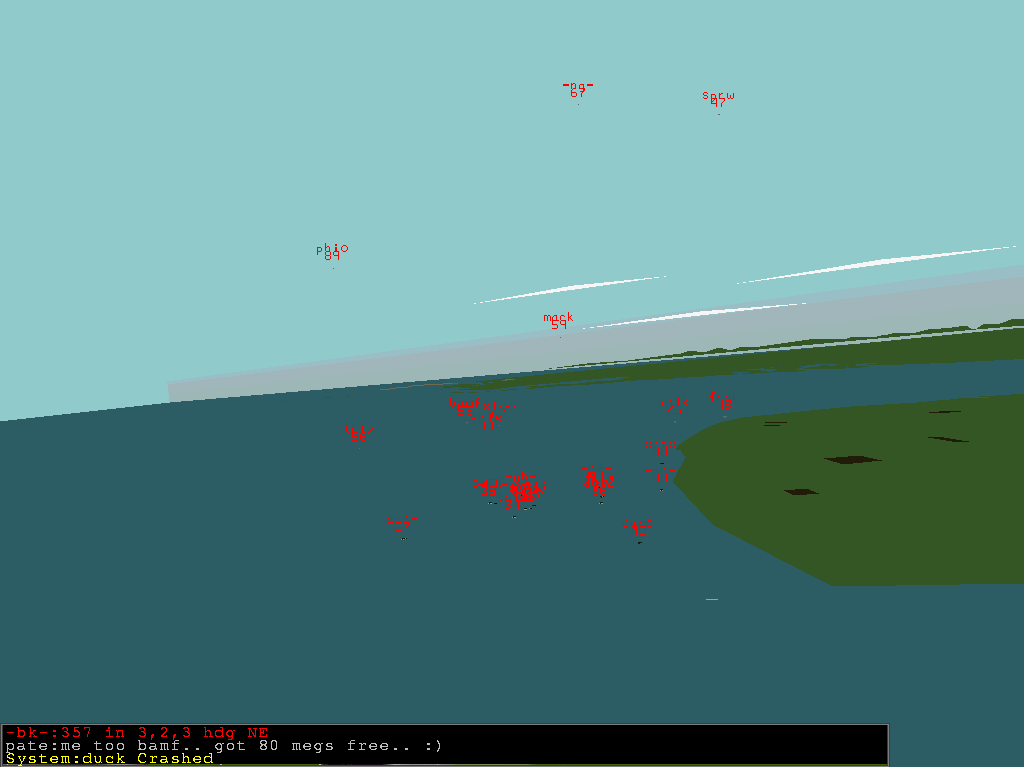
T+1:50 Another picture of the bombers and their escort, this one from a bit
farther away and showing more of the escort fighters.
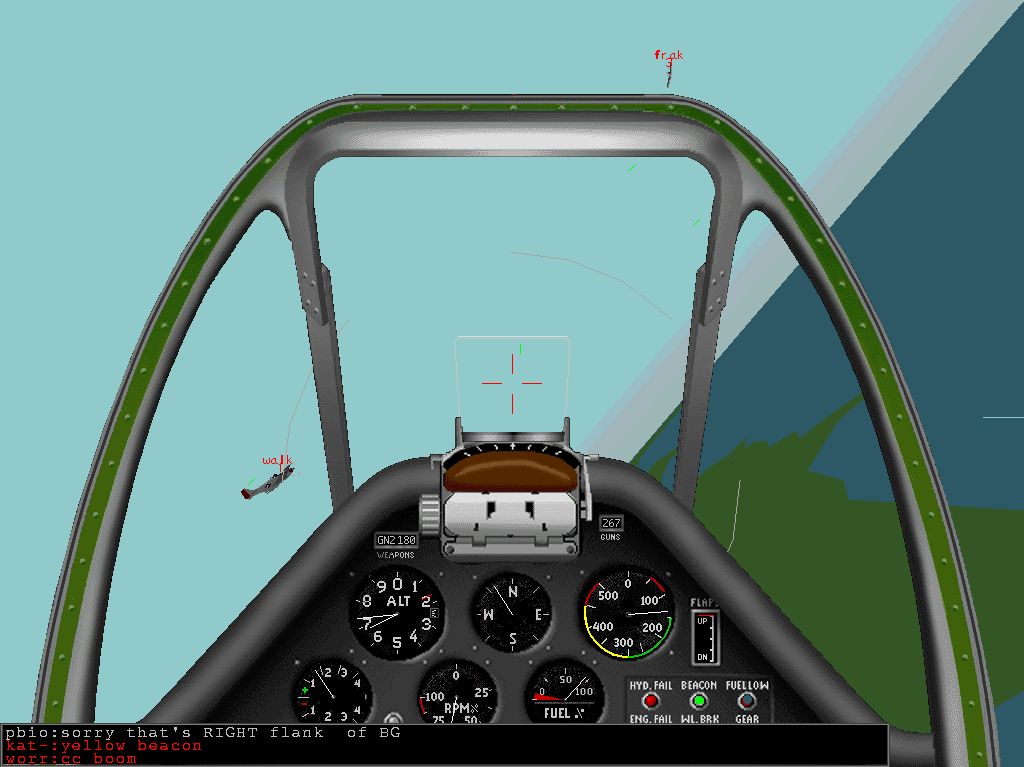
T+1:52 A good picture of Wing B, showing "frak", the wing leader, and "walk".
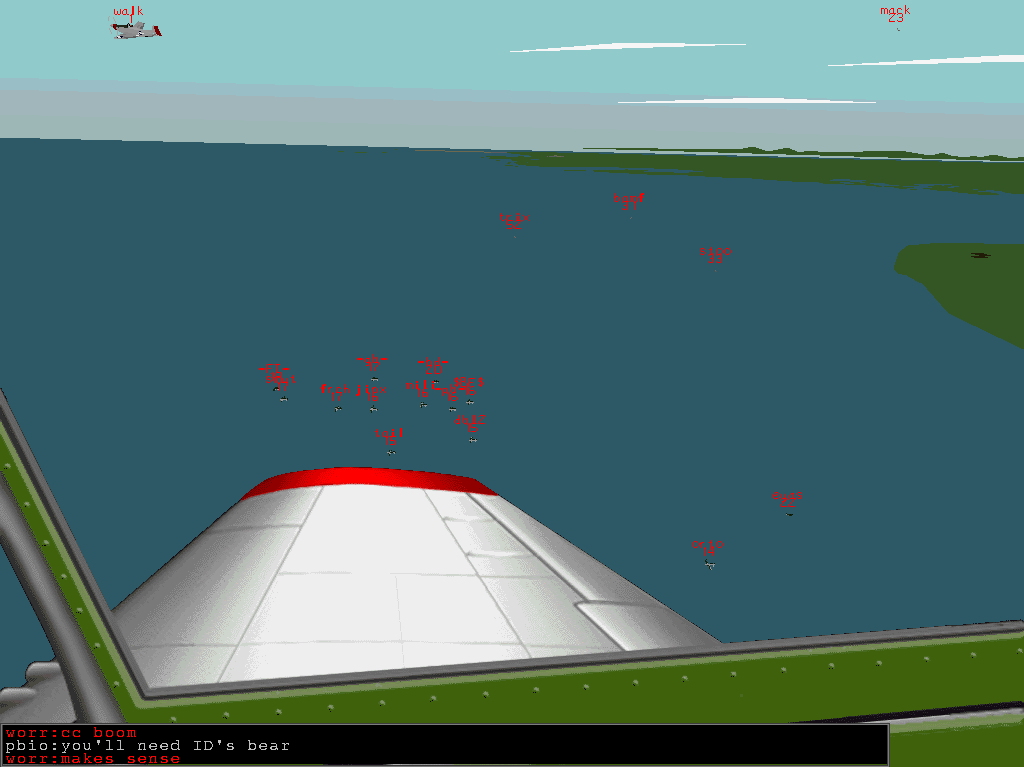
T+1:52 Here is a good shot of "walk" with the bomber group in the background.
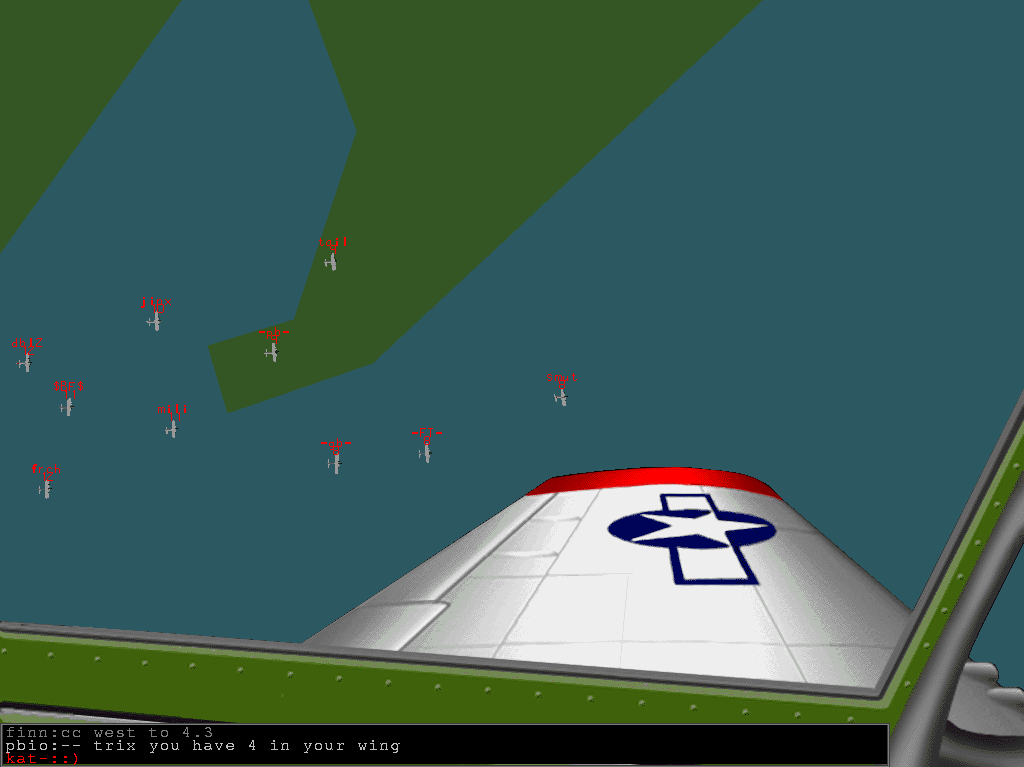
T+1:54 Looking straight down at the bomber formation, from a distance of 800
yards. There's "smut",
"mili",
"frch" and others. Looks cool!
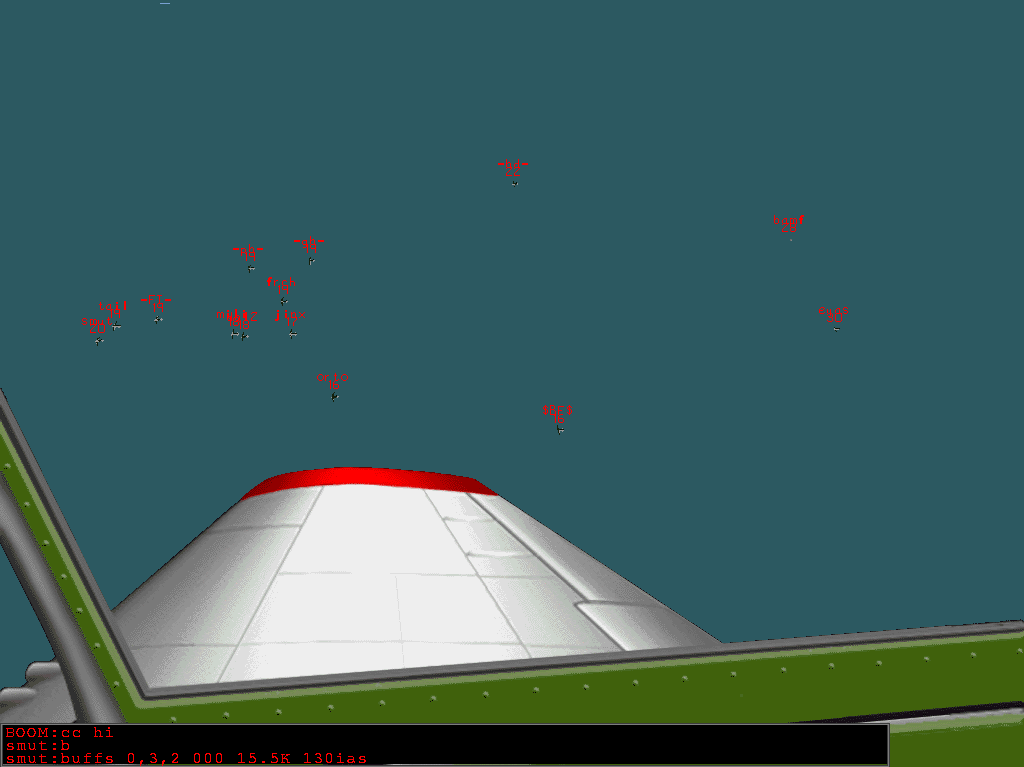
T+1:56 This one from about 1600 yards away. Many bombers and "bamf" visible
below.
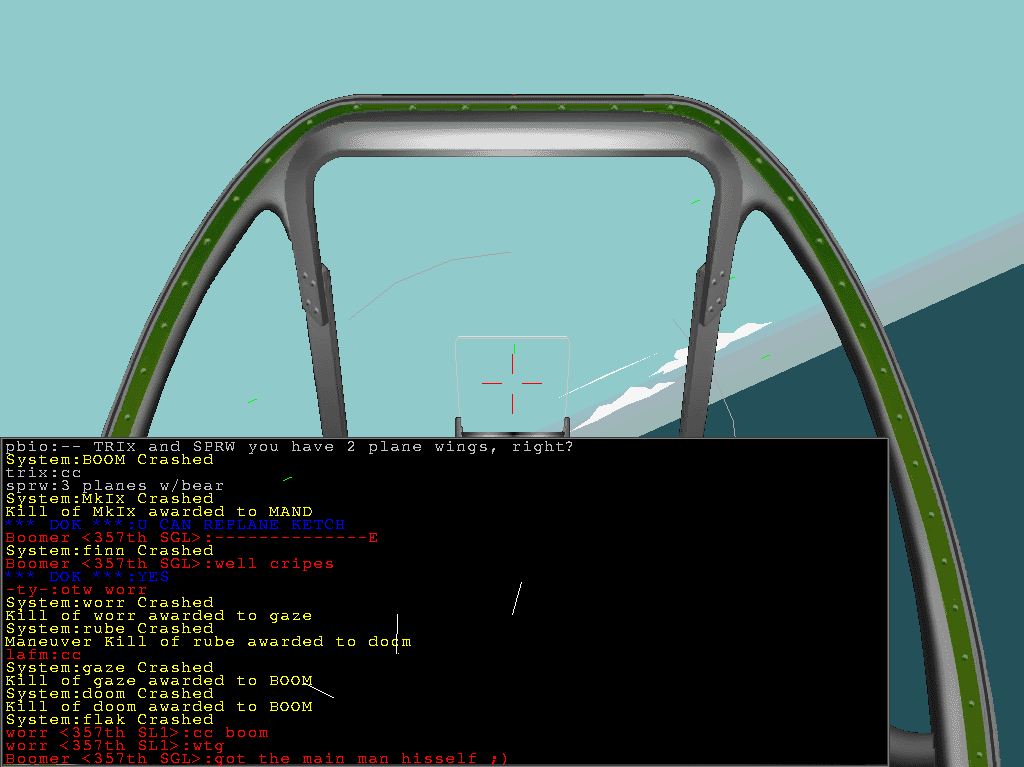
T+2:07 An excerpt of the radio traffic after the 357th Squadron had contacted
the enemy. Including confirmation of Boomer's kill of DocDoom, the Luftwaffe leader!
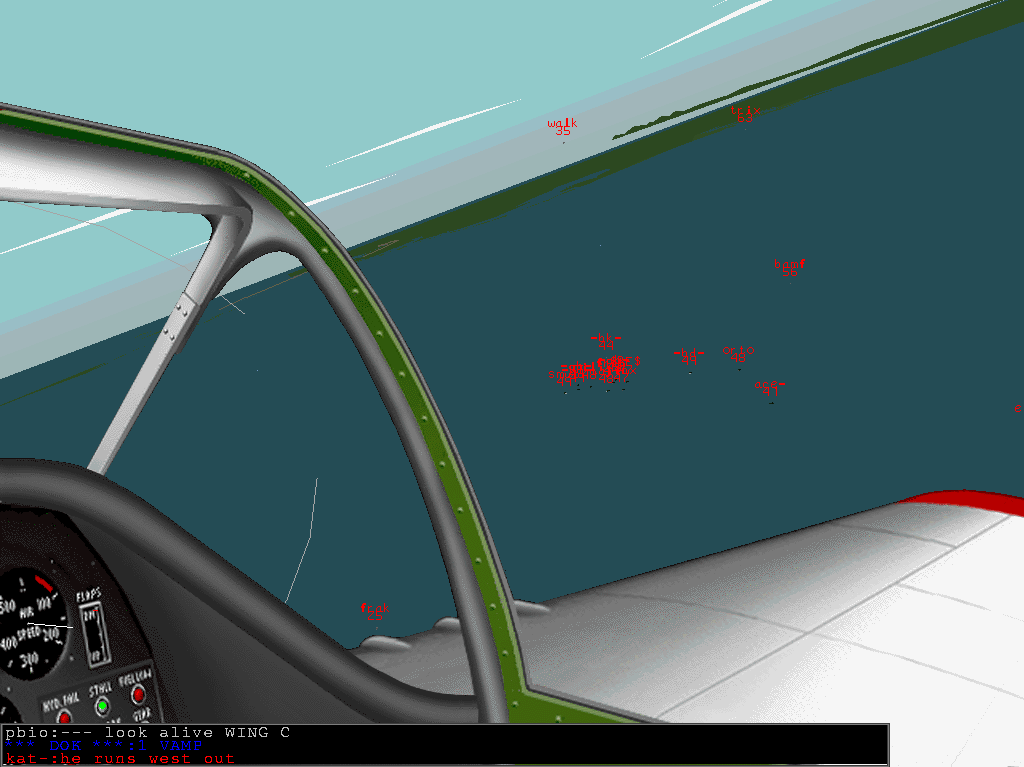
T+2:09 Here "frak", "walk" and myself are flying a loose patrol weave on the
left flank, looking at the bombers and trying to spot possible incoming enemy
fighters. Enemy contacts are expected any minute, as can be seen from the radio
message by "pbio". :)
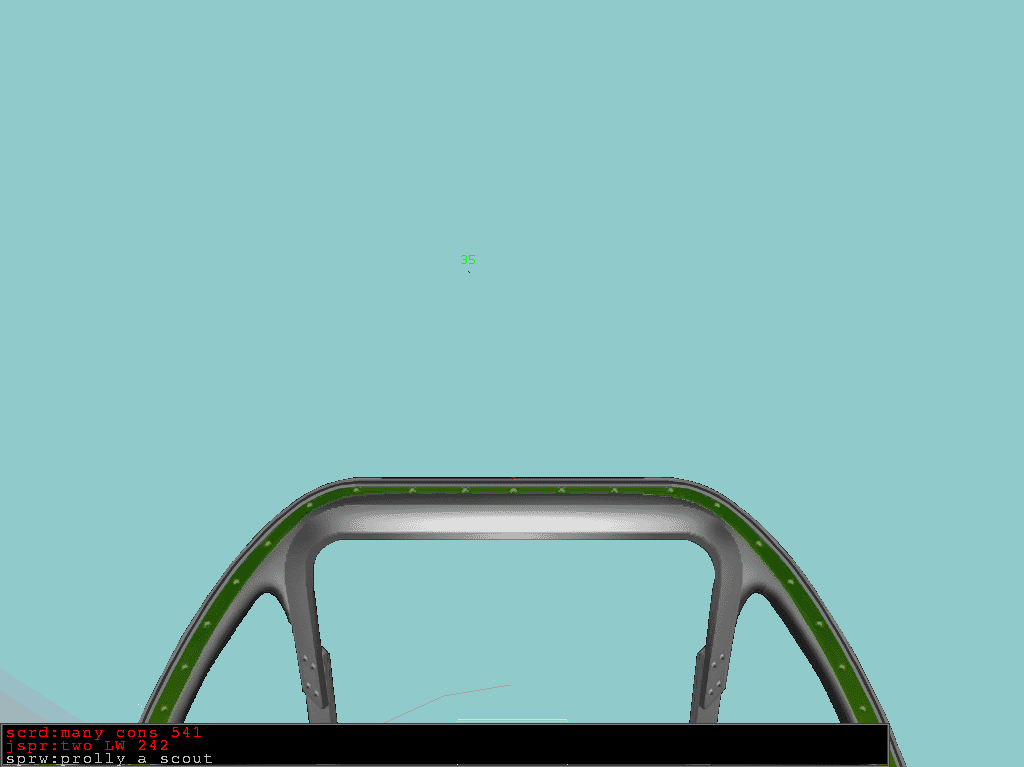
T+2:14 And there it is, the first LuftWaffe scout, high above us...
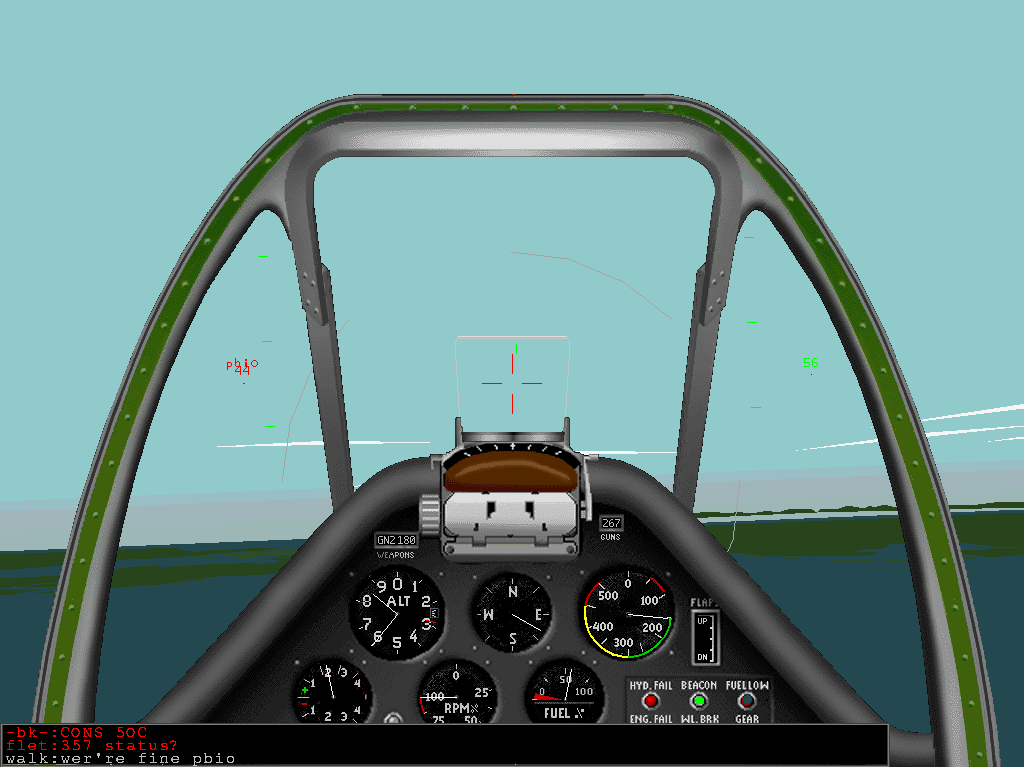
T+2:15 The first scout is followed by another, this one somewhat lower. "pbio"
is taking a closer look at him, or vice versa..
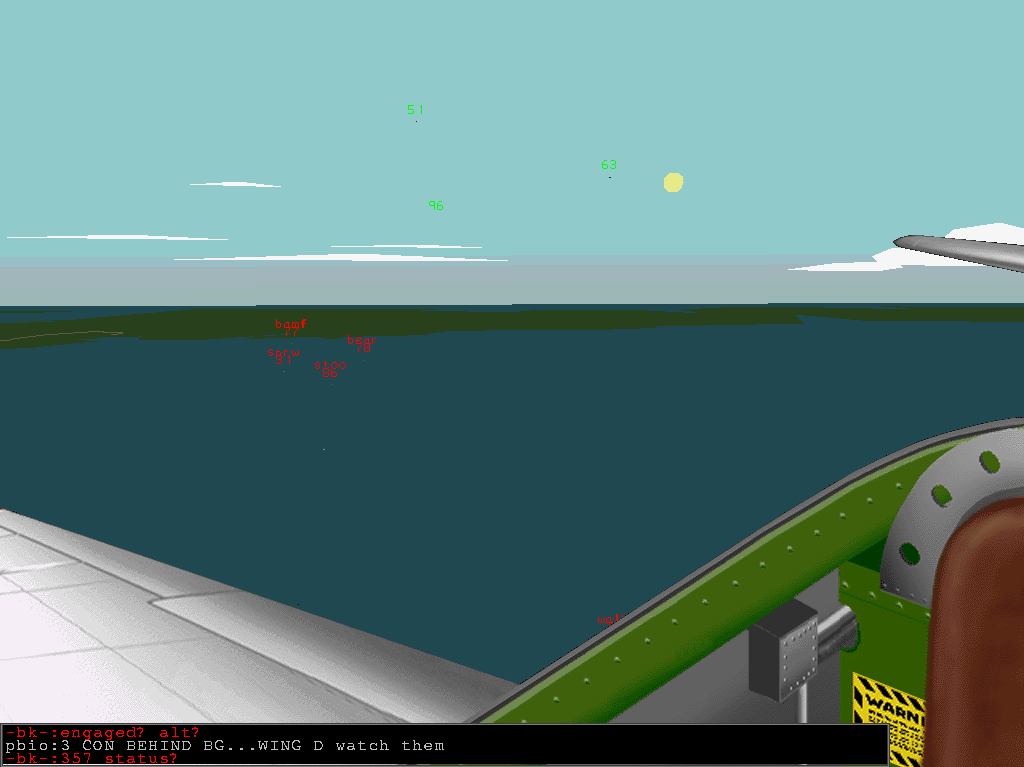
T+2:16 This is a good picture of the LW scouts following the bombers and
Wing D keeping an eye on them. The scouts stayed just far (and high) enough that the
escorts could not attack them, yet close enough to stay in touch with the bombers.
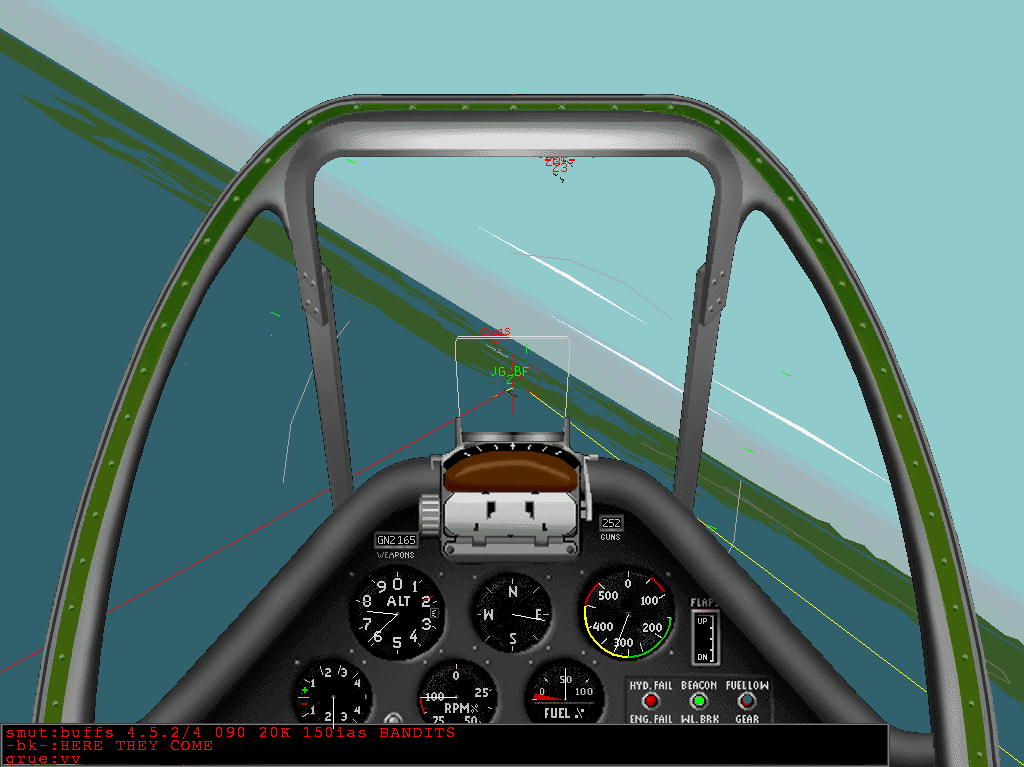
T+2:24 As soons as the rest of the LuftWaffe got within visual range, the
scouts attacked. This is a shot I am rather proud of, as it shows my kill of
"-my-".
I exploded his BF109G just a few seconds after my taking this screenshot. :)
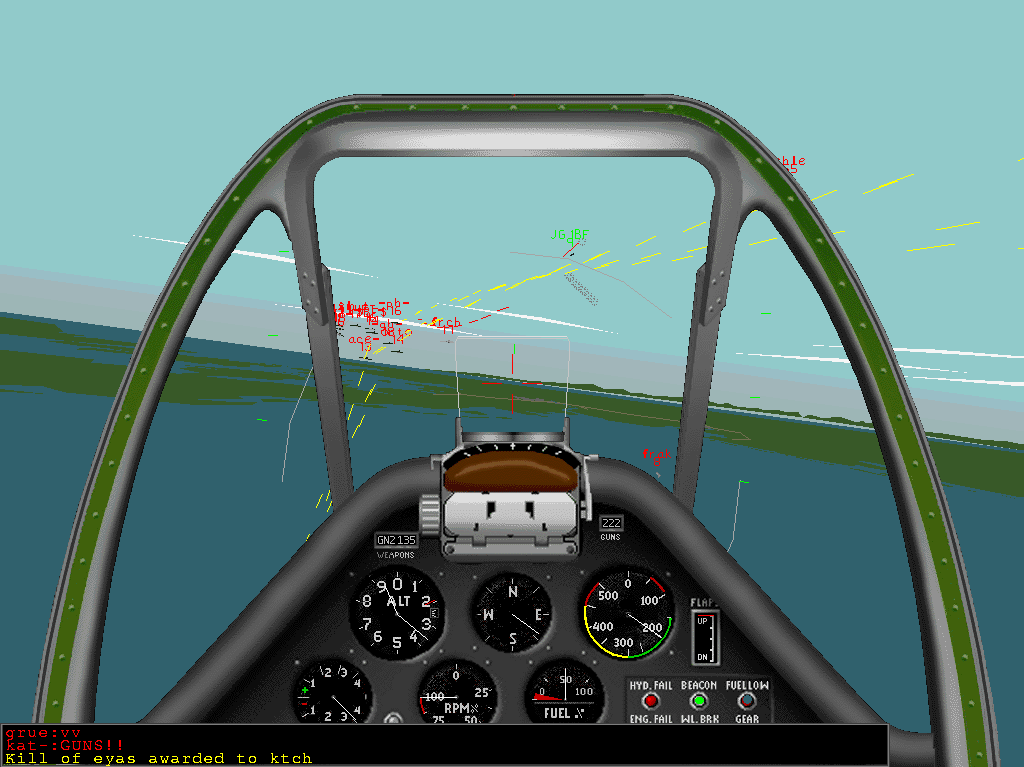
T+2:25 And then the full-scale fight was on. Here "frak" and myself are trying
to catch an attacking BF109G, with many bomber gunners shooting as well.
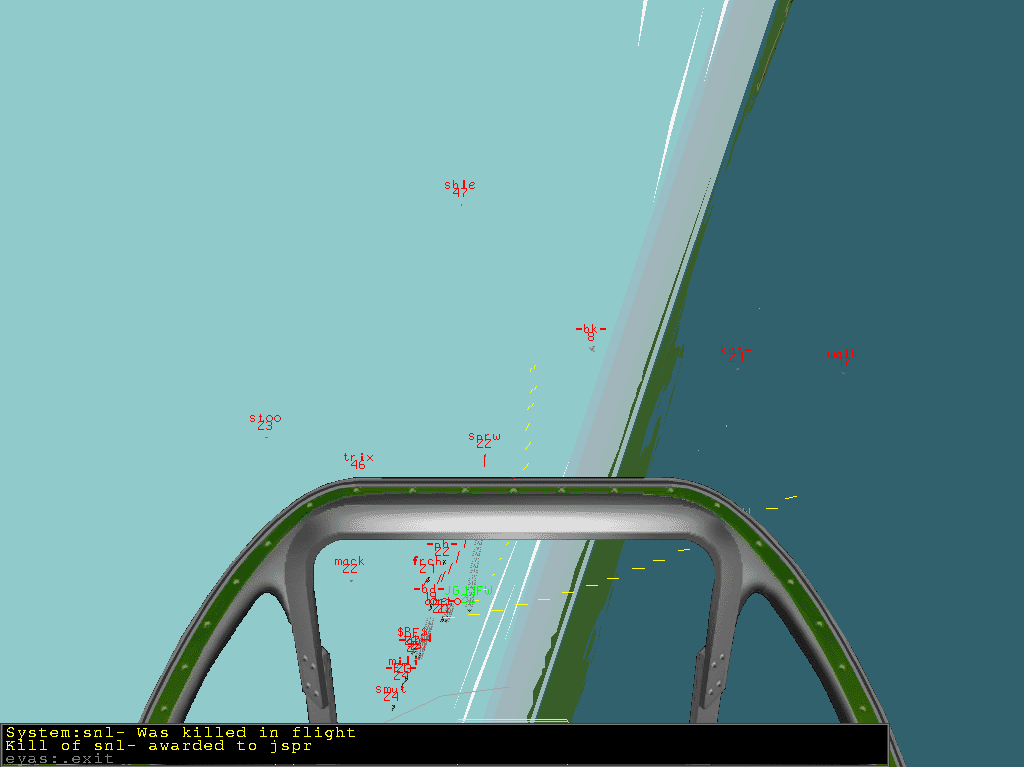
T+2:25 Here an FW has managed to sneak into the bomber group while us
escort fighters are too far to help the bombers. Lots of smoke there..
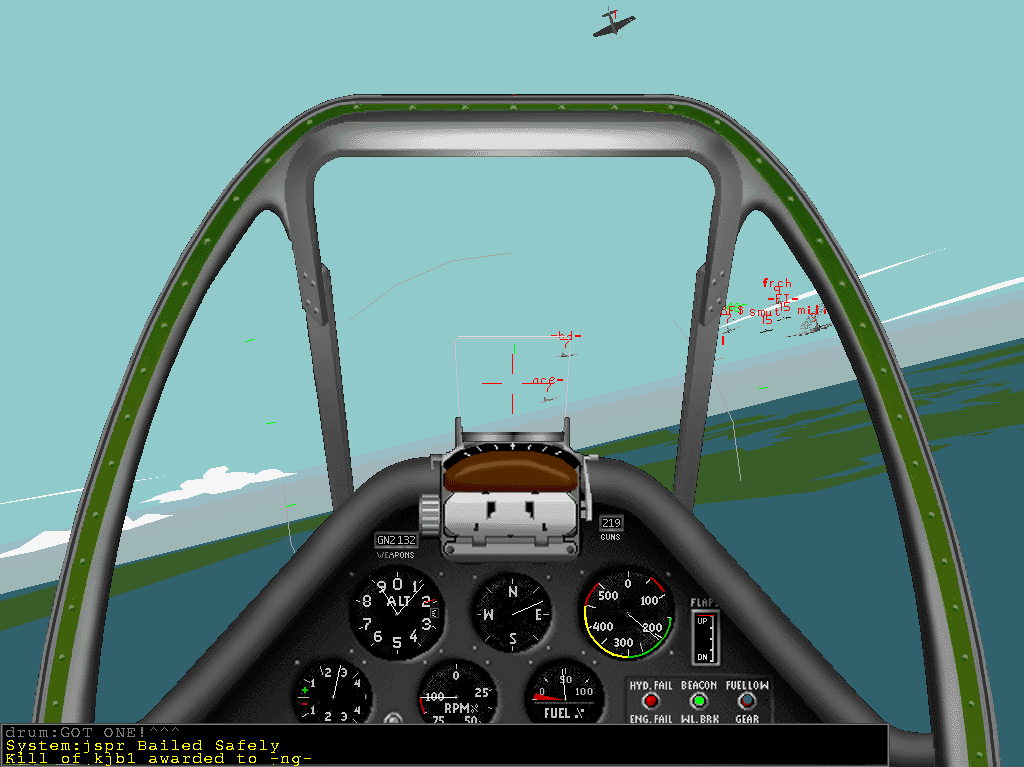
T+2:27 Another escort fighter (whose callsign is not visible) and myself
trying to get in front of the bomber group where another LW plane is visible. At least
"mili" is smoking pretty bad already..
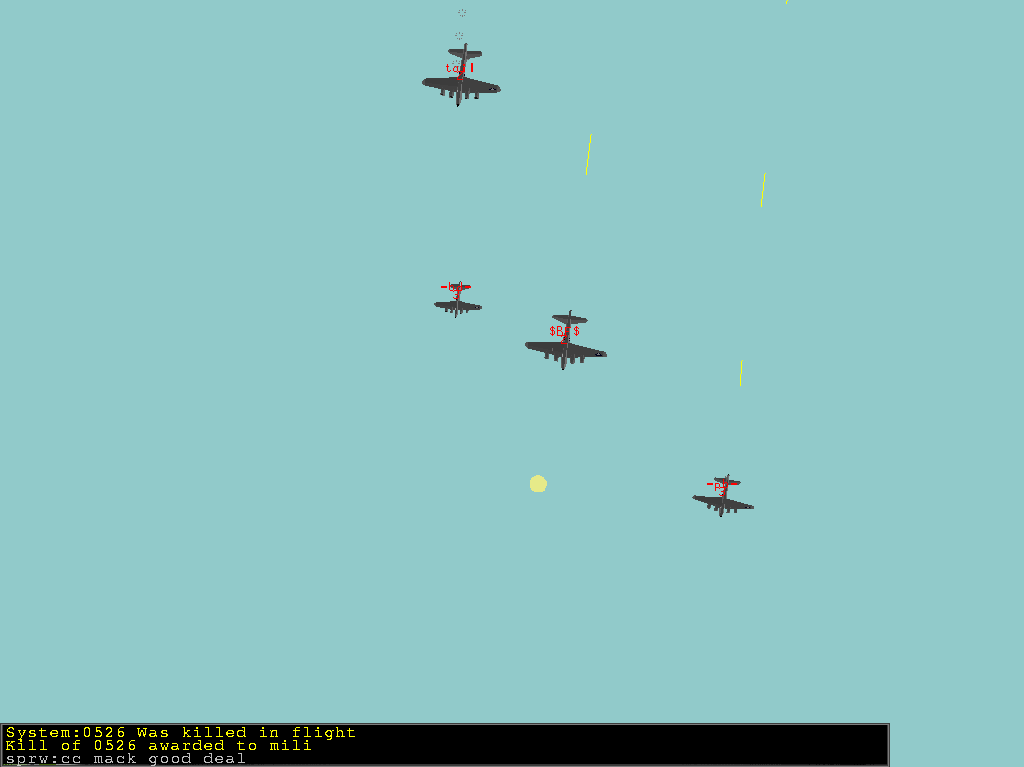
T+2:28 A good picture of the shooting and smoking bombers from below. Visible
are "tail", "-bd-", "$BF$" and "-pd-".
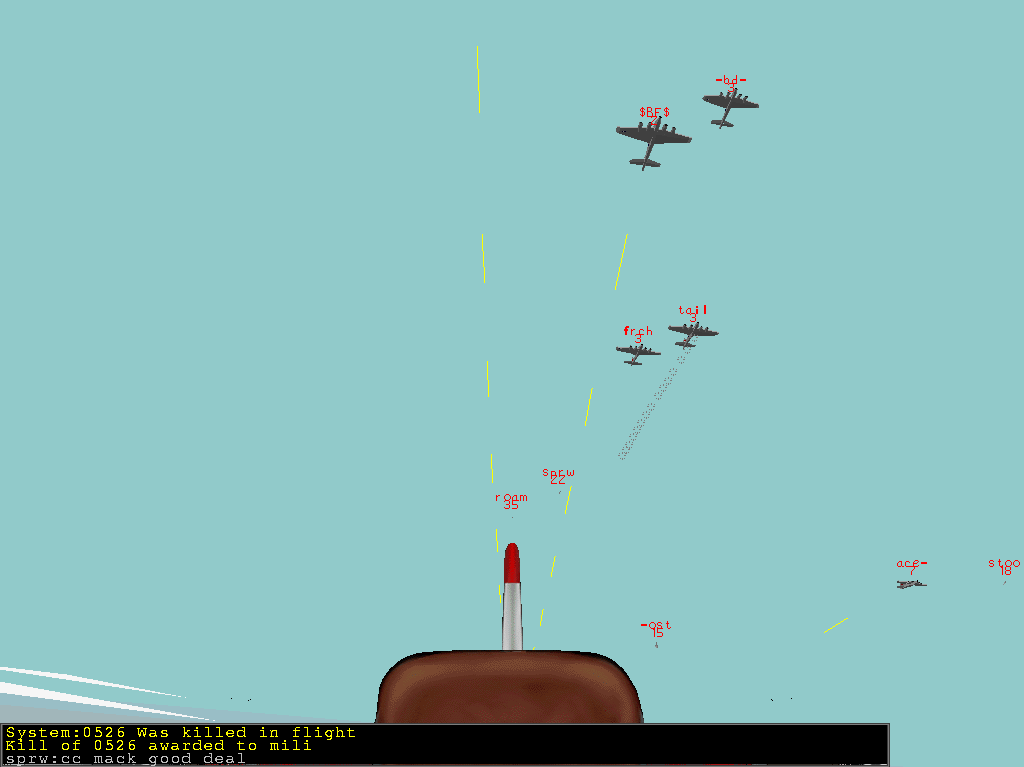
T+2:28 Another good picture of them, this one showing also "frch" and "ace-",
plus several escort fighters. Looks like the bombers are shooting at an enemy that is
on MY six! :)
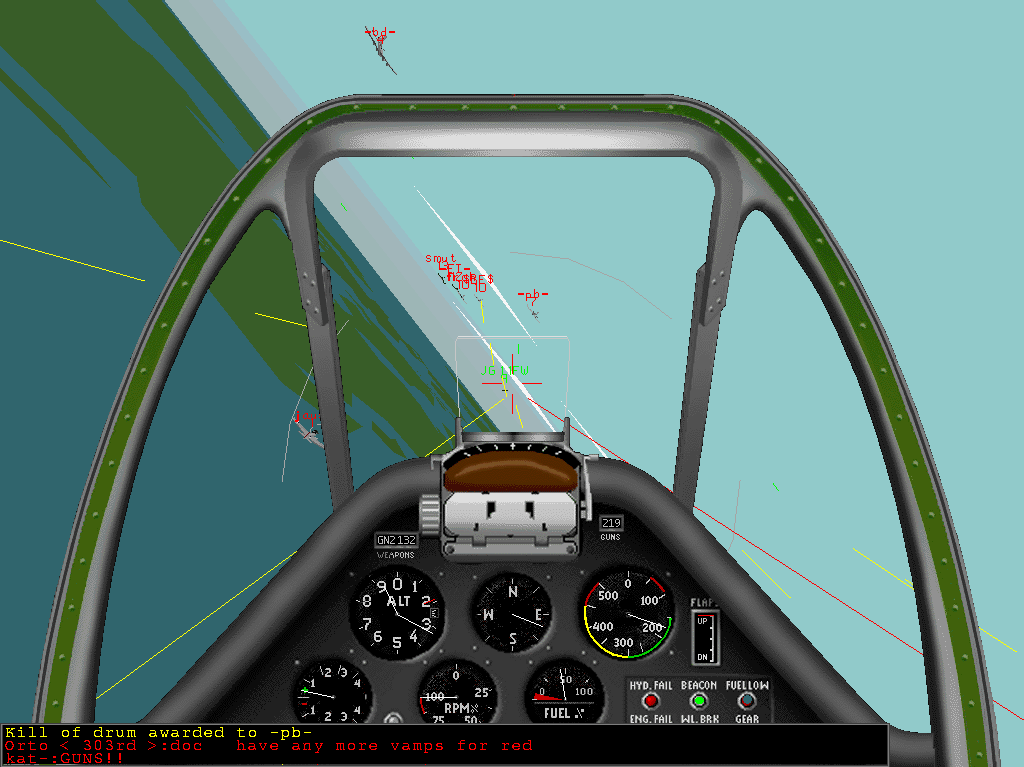
T+2:29 Shooting at an FW (at a ridiculous distance of 900 yards!) within the
bomber group, with "jaus".
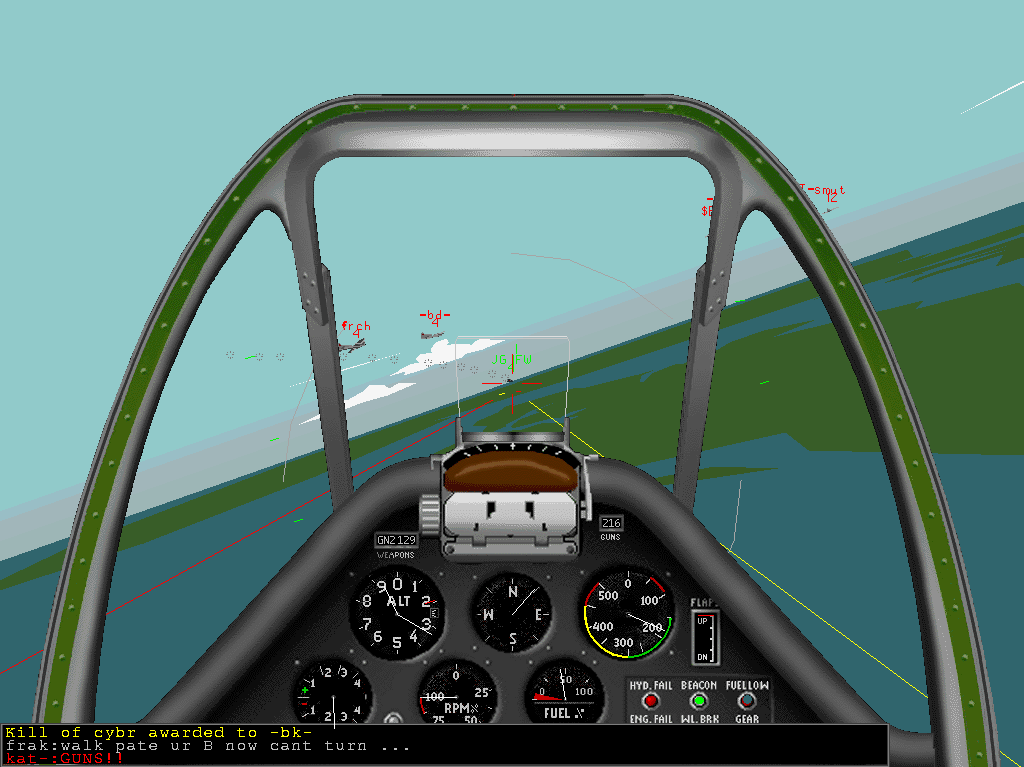
T+2:30 Still on that FW which is smoking now... "frak" is radioing that he is out
of the game and "walk" and myself are all that are left of Wing B.
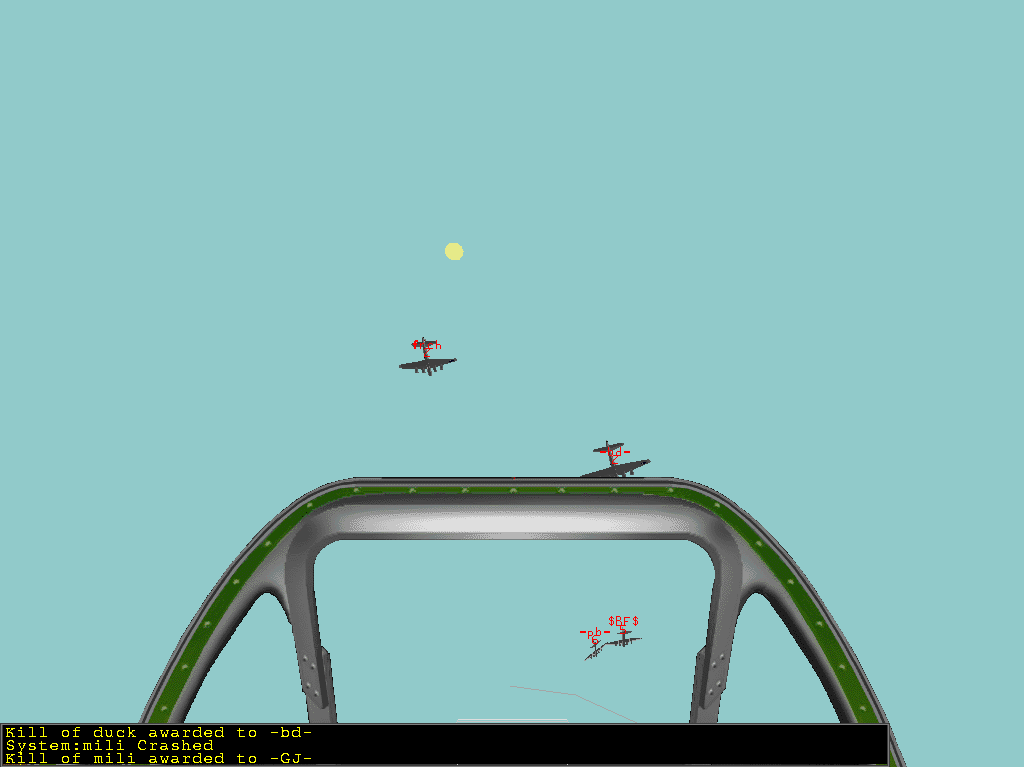
T+2:30 Looking up at the bombers..
"mili" had just been killed by
"-GJ-".
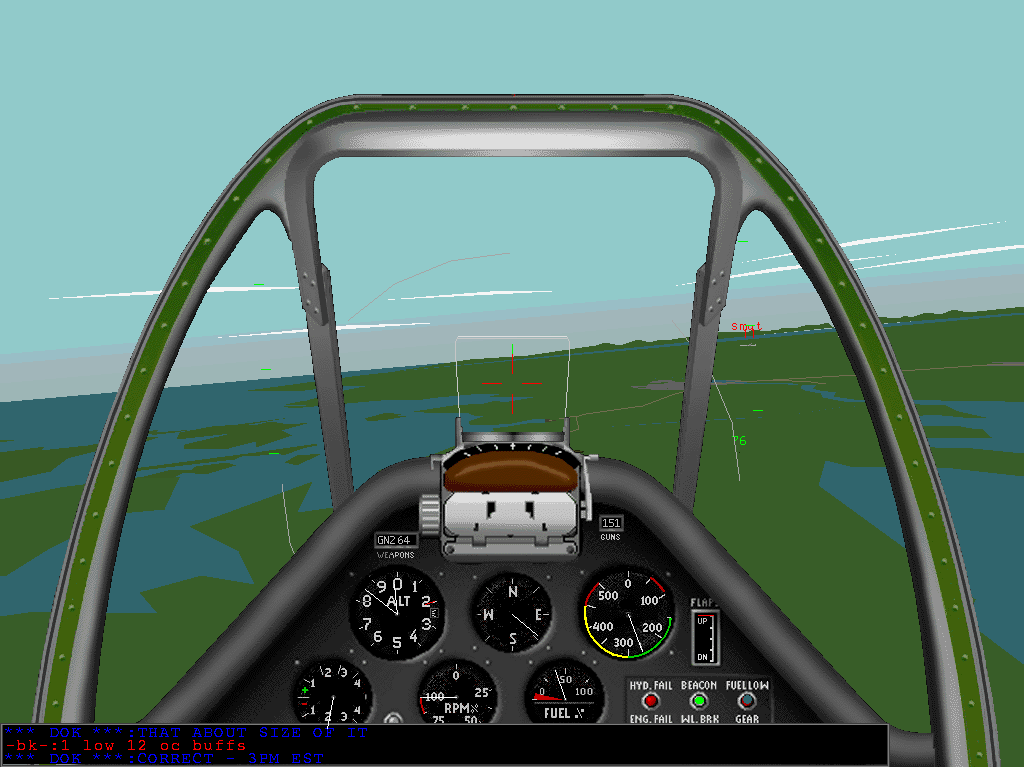
T+2:35 Nearing the target area, following the bomber group commander "smut".
One low LW fighter visible ahead.
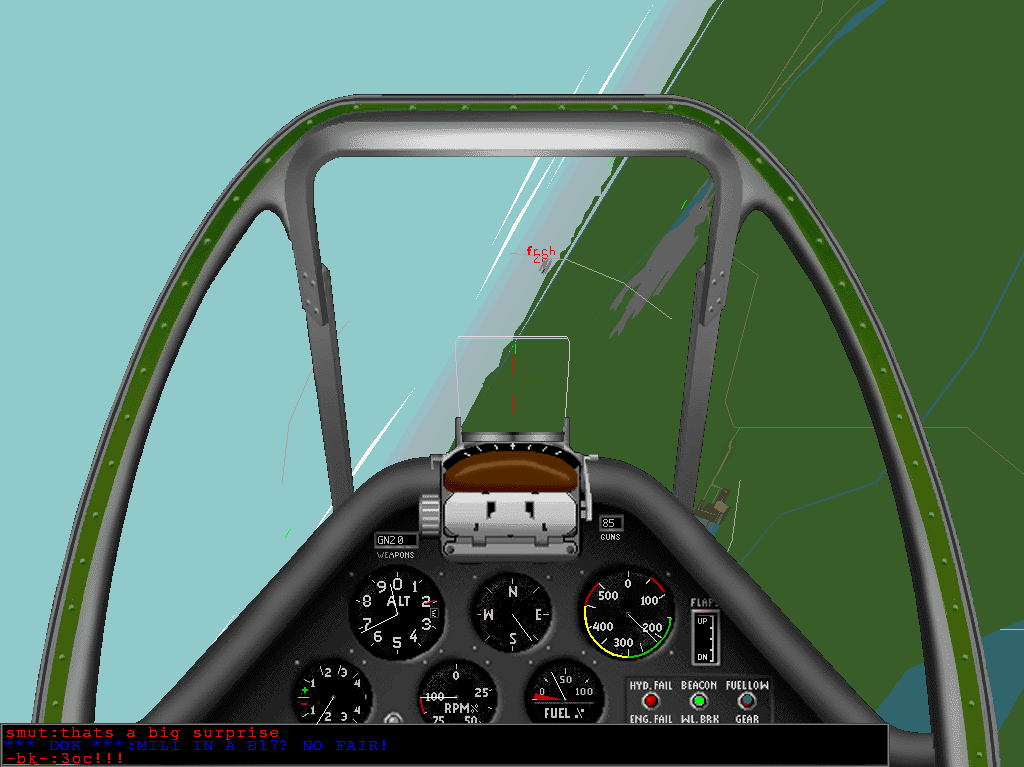
T+2:39 Another bomber, "frch", is almost at the Kiel target area.. His B17
is smoking pretty heavily, though.
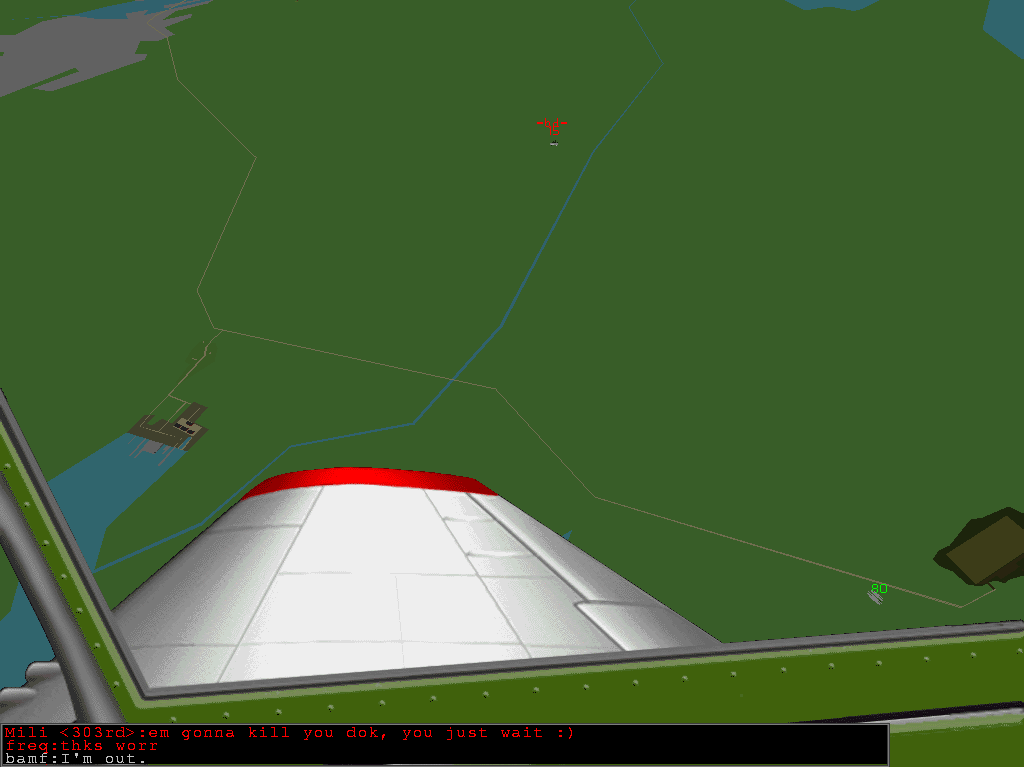
T+2:40 And here "-bd-" is almost over Kiel..
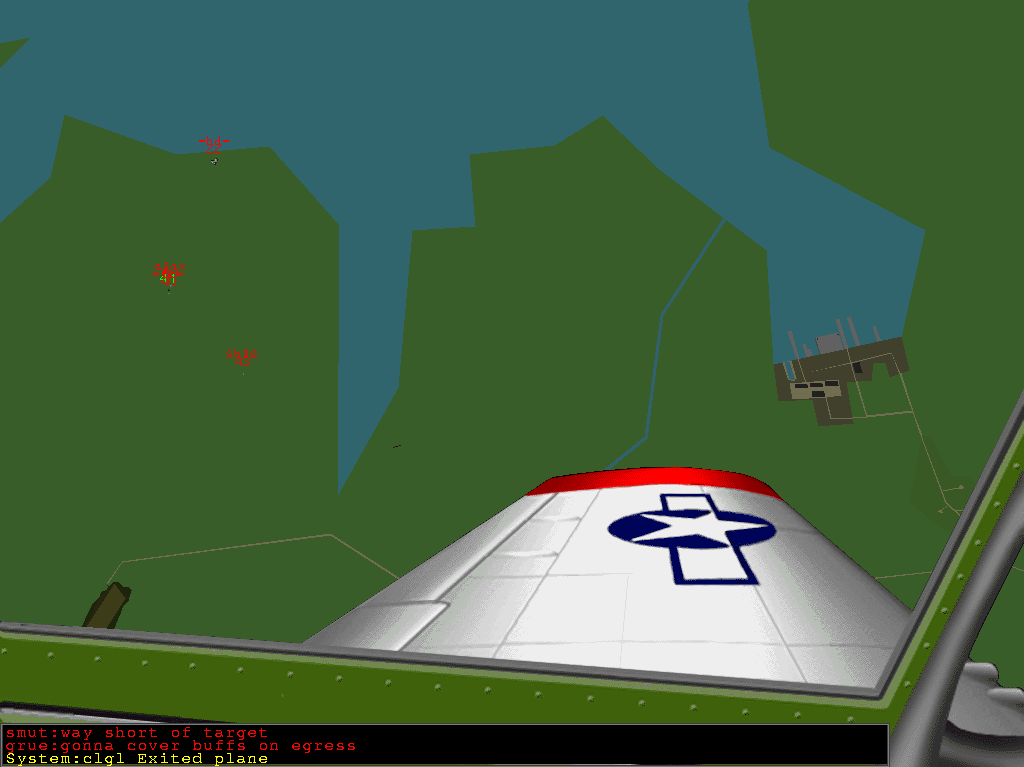
T+2:41 A good picture of the Kiel target area from straight above.
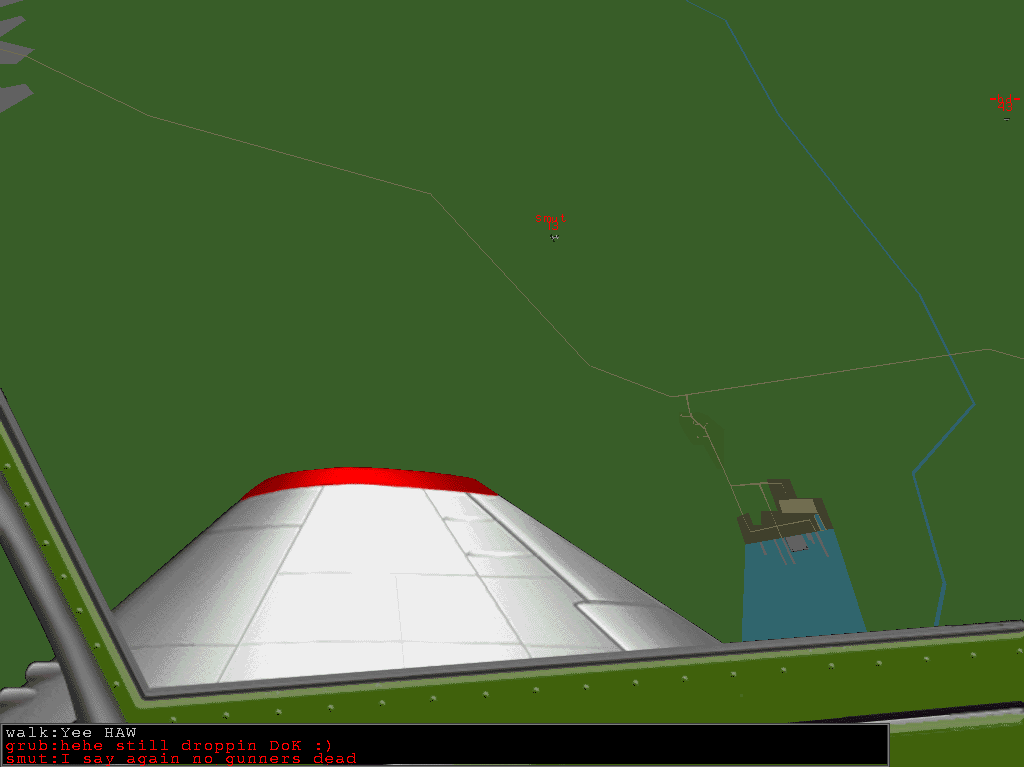
T+2:42 "smut" over target area.
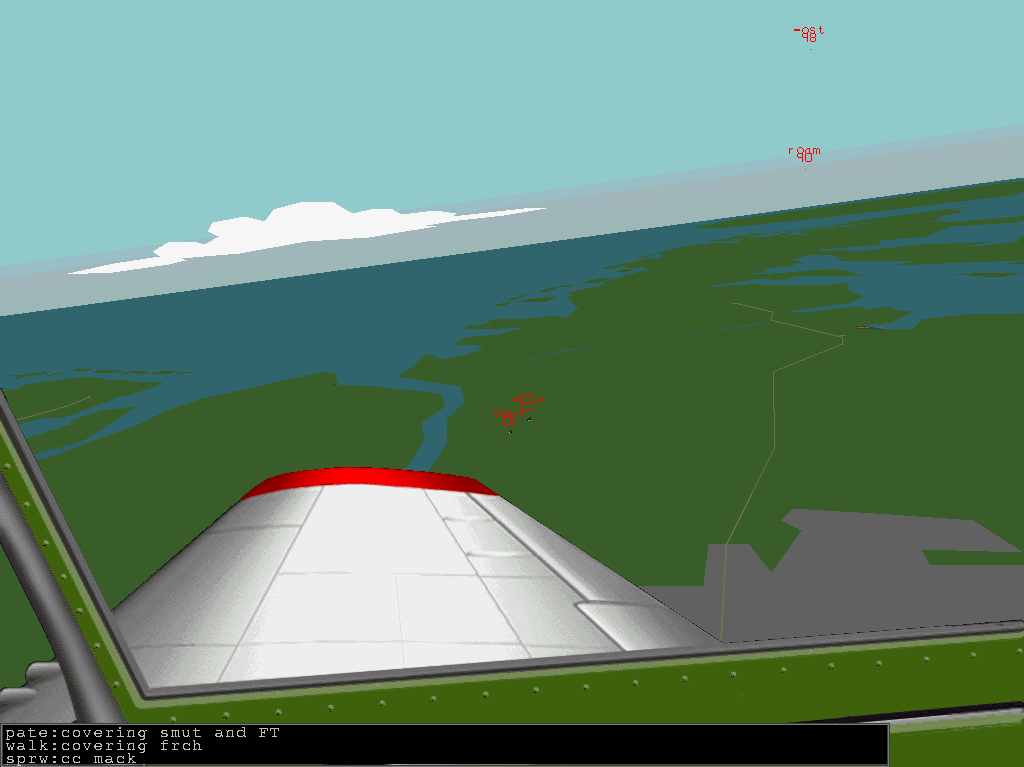
T+2:47 Here "walk" and myself are radioing who we shall cover on our long
journey back to England. "smut" and "-FT-" are flying in a cool formation, but they
are both out of ammo, so they need an escort.
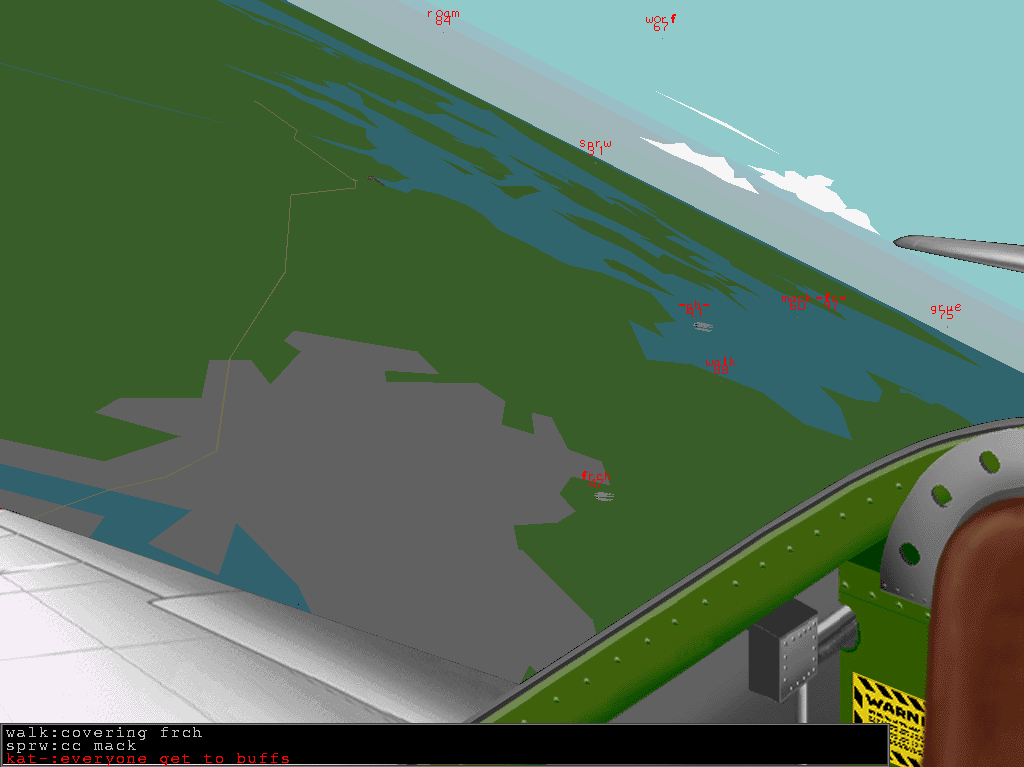
T+2:47 There we can see "frch", who is limping on two engines, with "walk"
escorting him. Also visible are "freq" and "mack" escorting "-pb-", plus others.
Soon after this picture a lone LW fighter attacked "smut" and "-FT-", but "stoo"
and myself managed to drive him away.
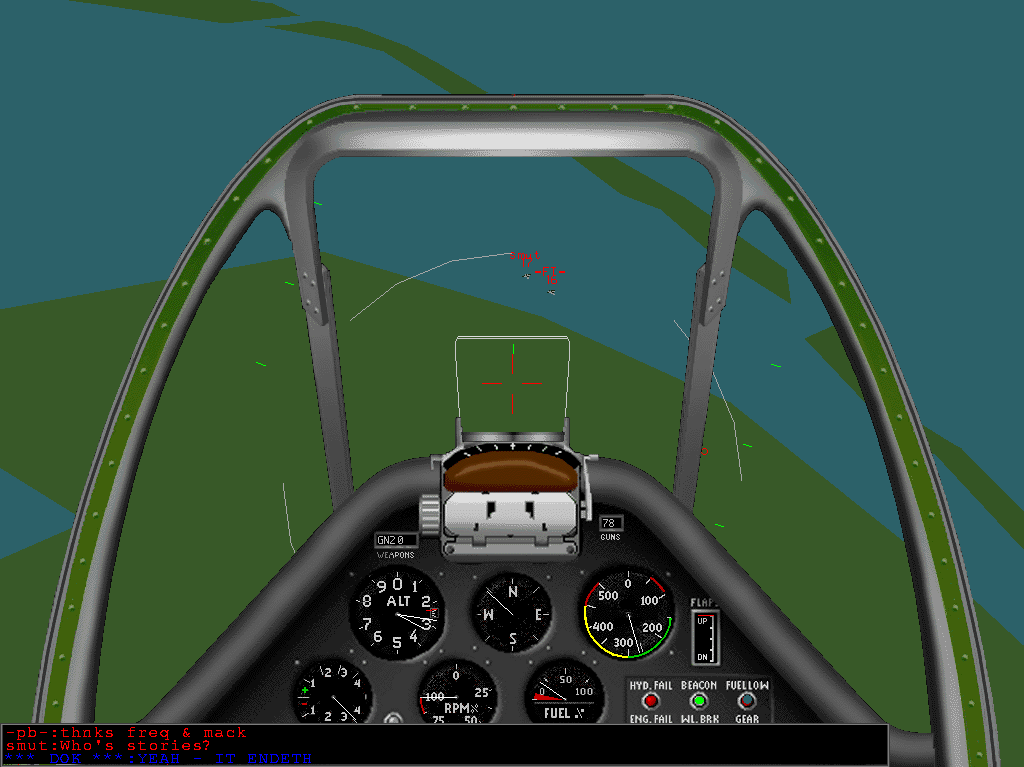
T+2:59 Here I am diving towards "smut" and "-FT-" to take a closer look...
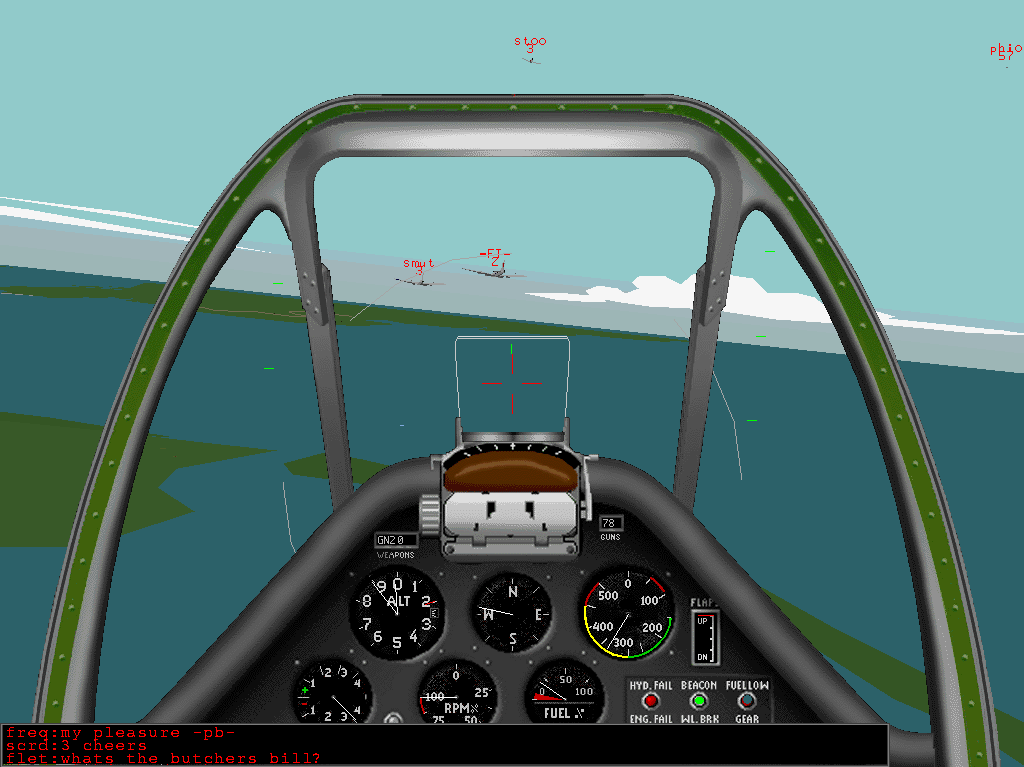
T+2:59 Closing on "smut" and "-FT-", vith also "stoo" visible escorting them.
I was down to 78 rounds of ammo on primary guns, and secondary guns were dry.
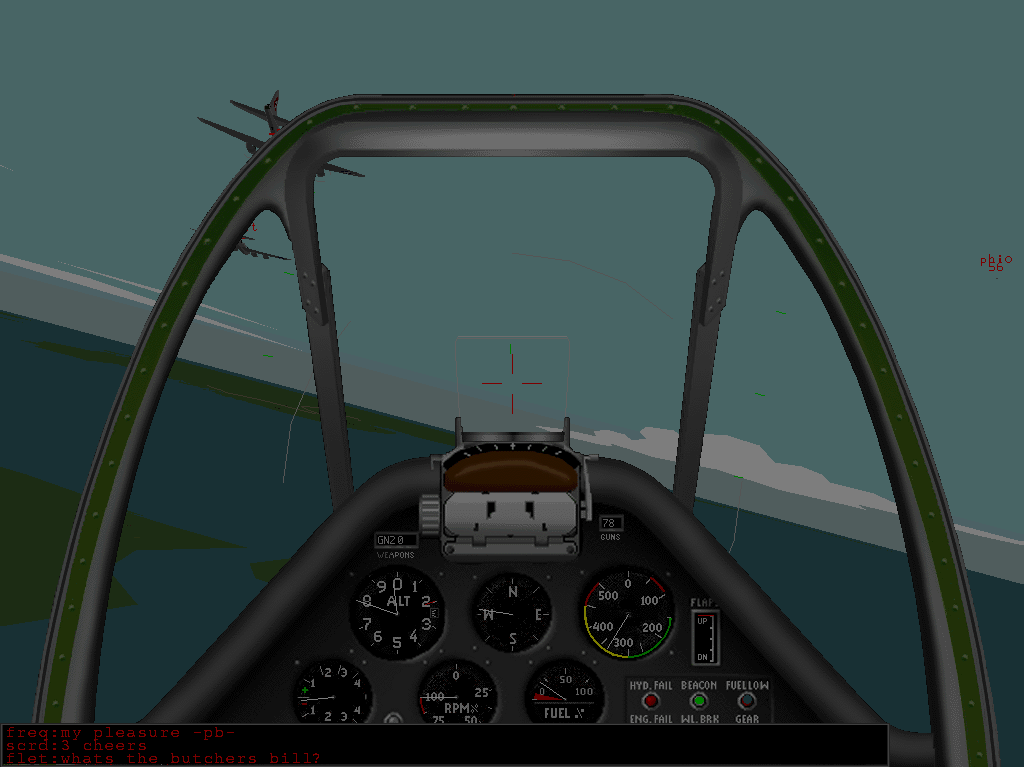
T+2:59 Oops, graying out while pulling back at 350 IAS...
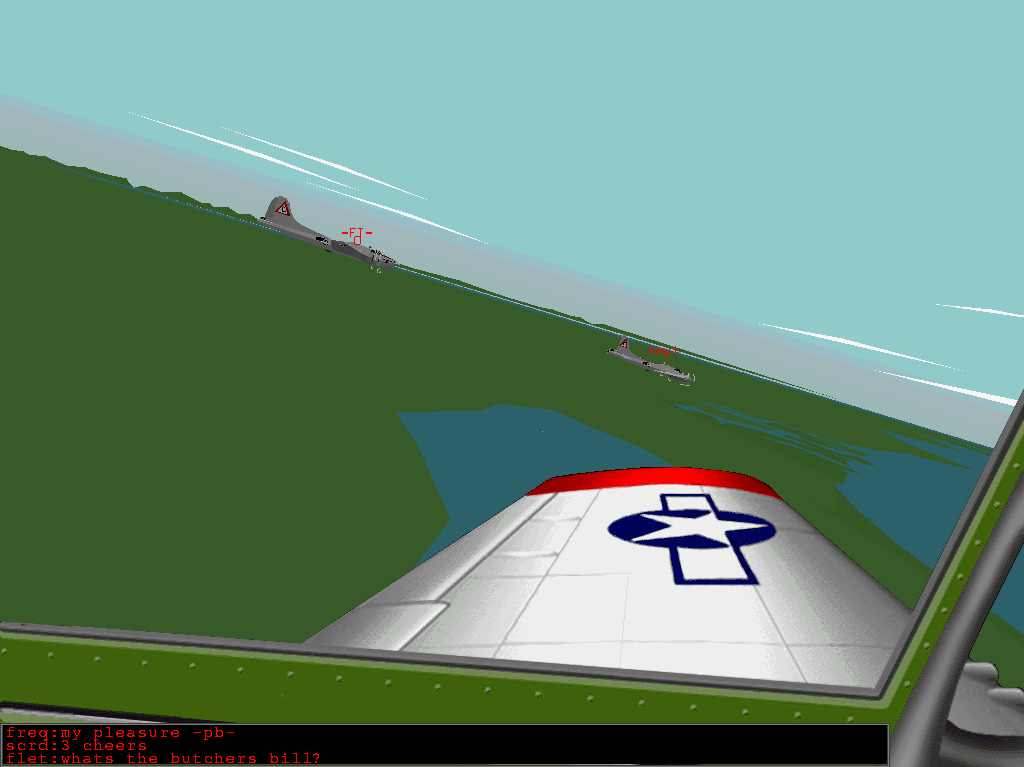
T+2:59 Close-up of "-FT-" and "smut", at about 100 yards away.
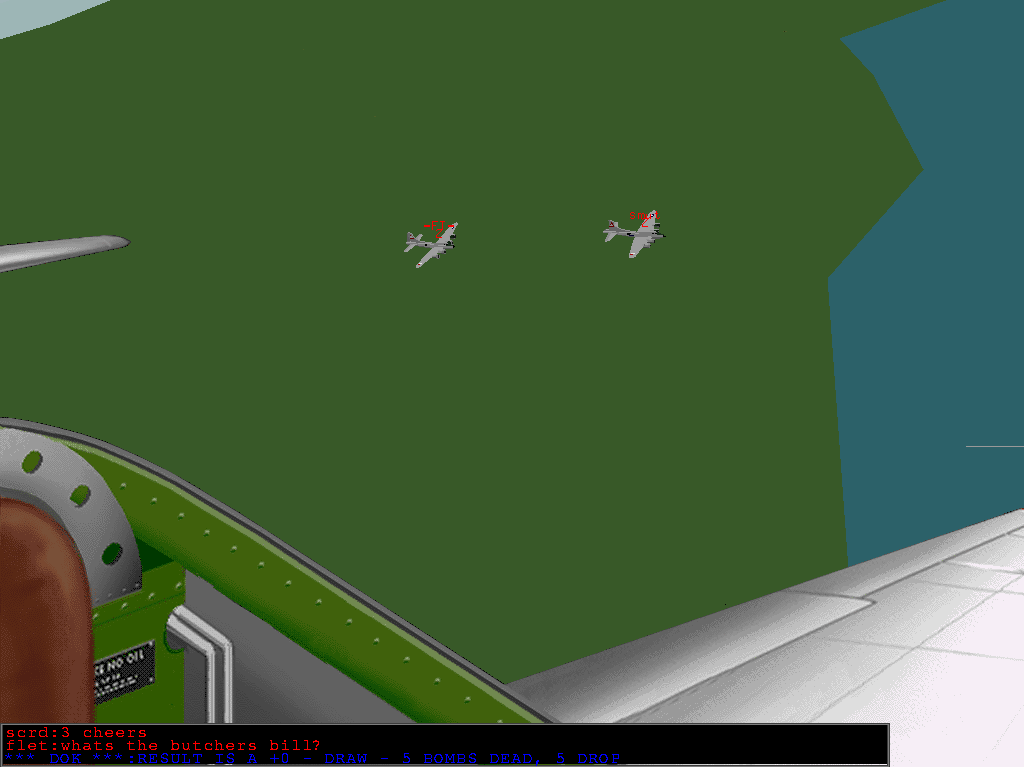
T+2:59 Looking down at them from about 200 yards distance. Looks cool!
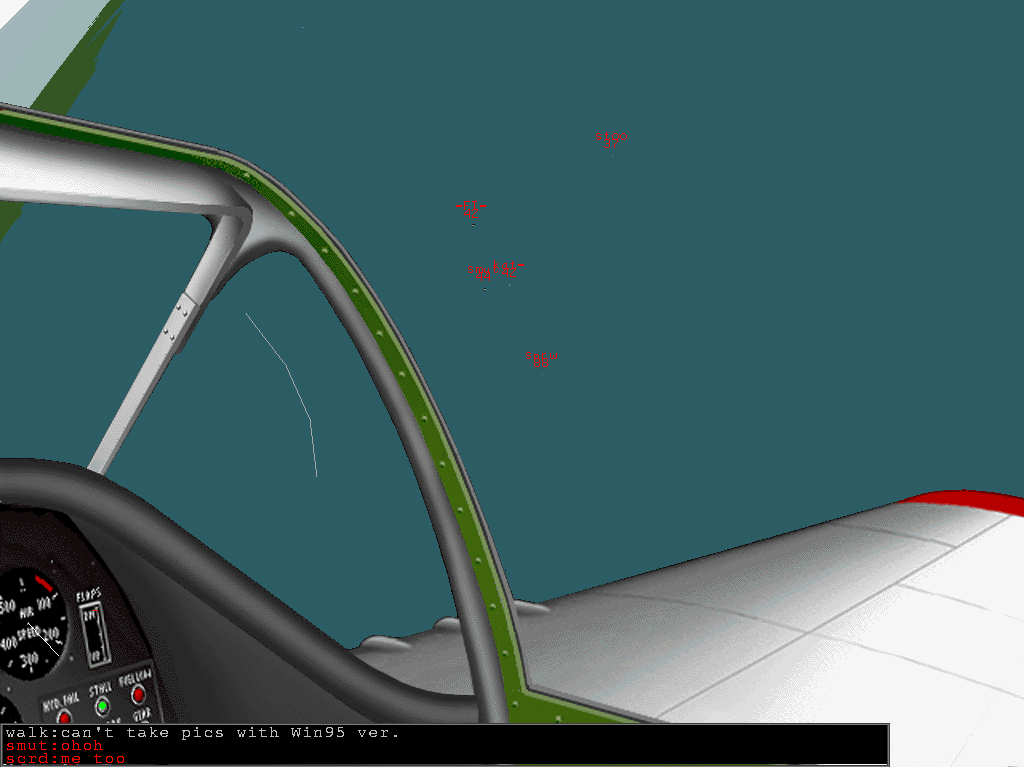
T+3:04 Looks like "kat-" is taking pics of
"smut" and "-FT-", now.. Also "sprw"
and "stoo" visible there.
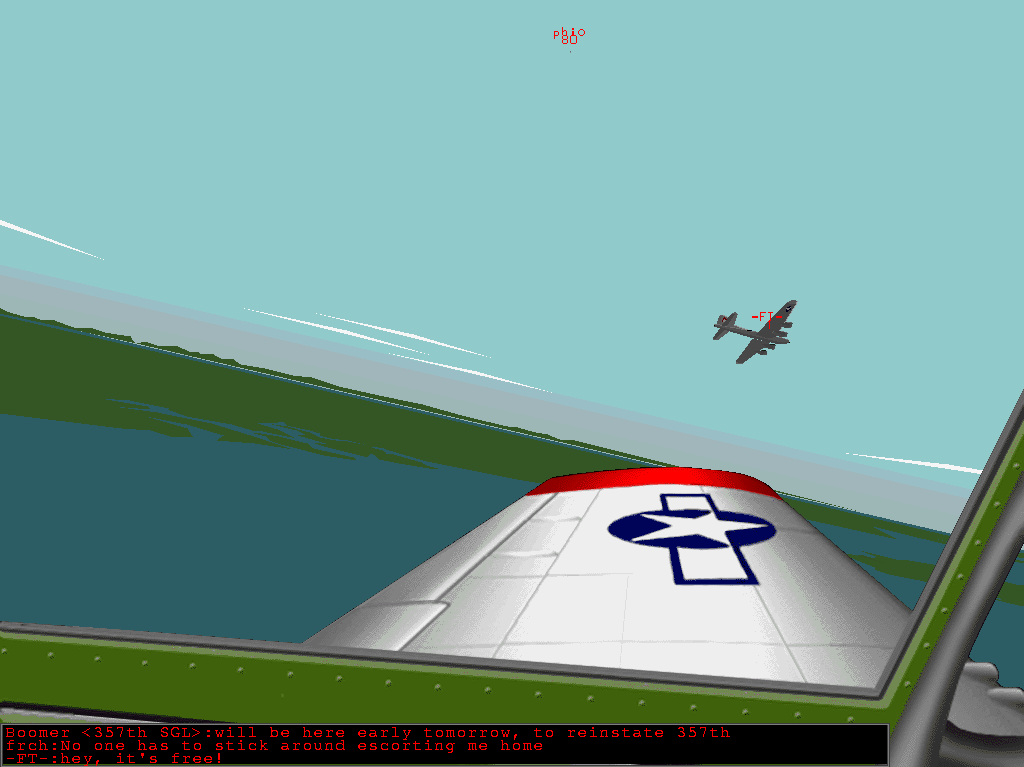
T+3:07 Close-up of "-FT-" banking left..
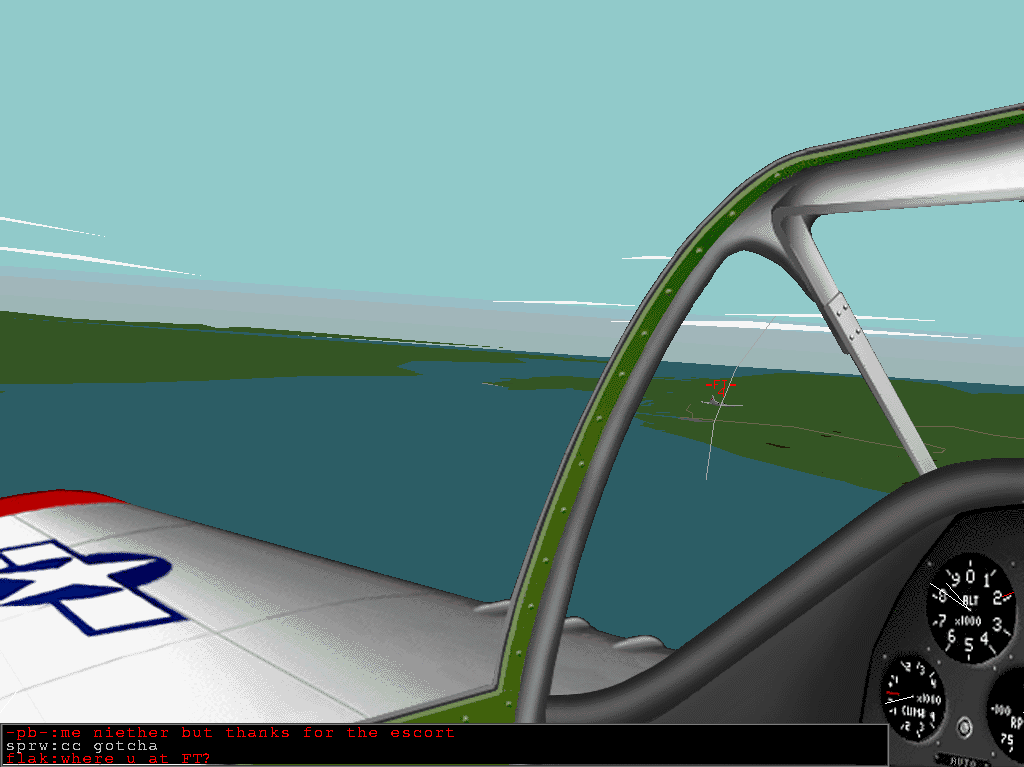
T+3:07 Following "-FT-" towards England.. We are almost over the Channel
already..
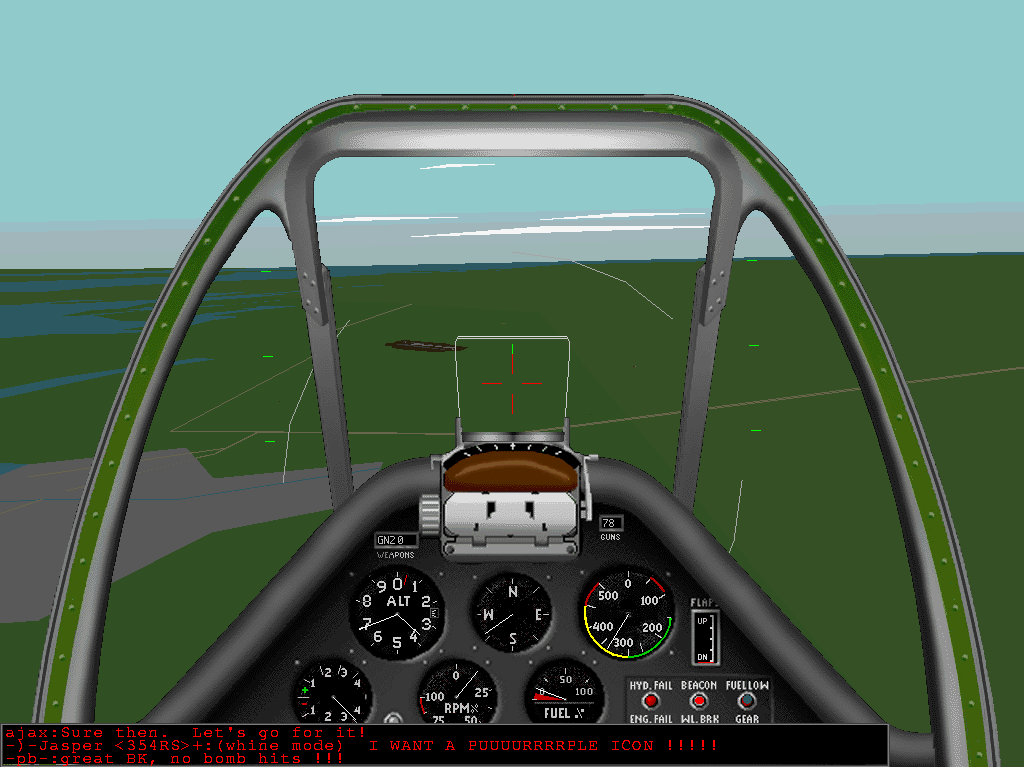
T+3:11 Nearing the field, flaps all down and engine at idle.. I had just been hit
by a Net Storm, as vitnessed by the red beacon.. Luckily it did not hit during the
action!
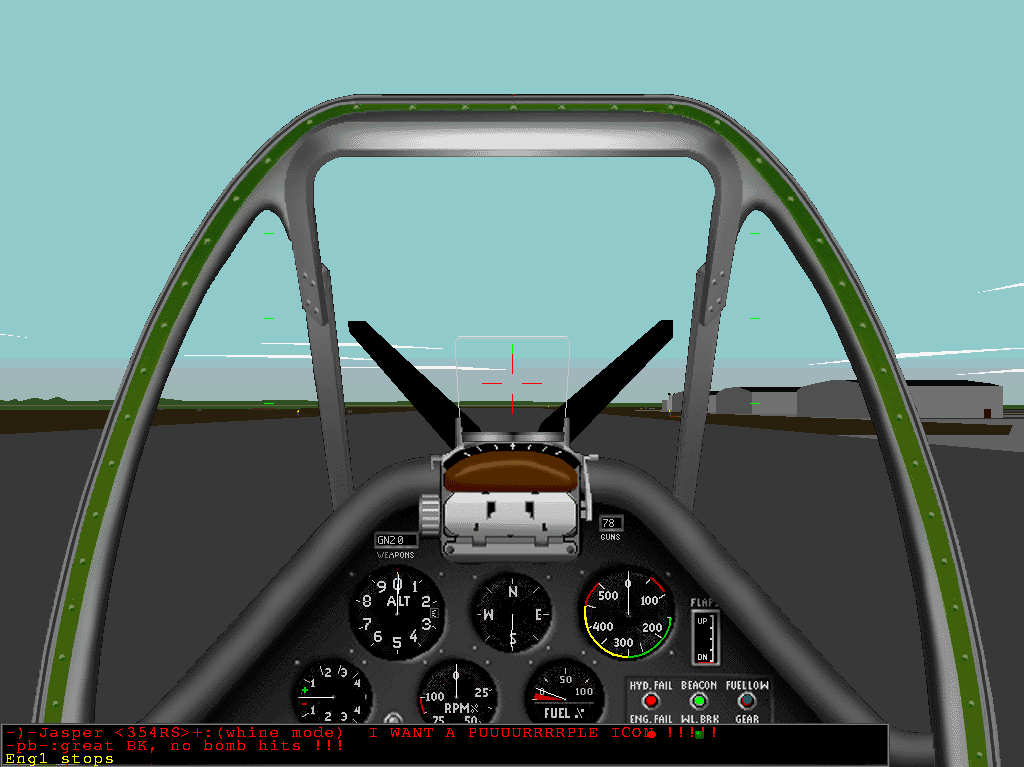
T+3:13 Ah, safe landing at the home field, some 3 hours and 13 minutes after
the initial take-off!
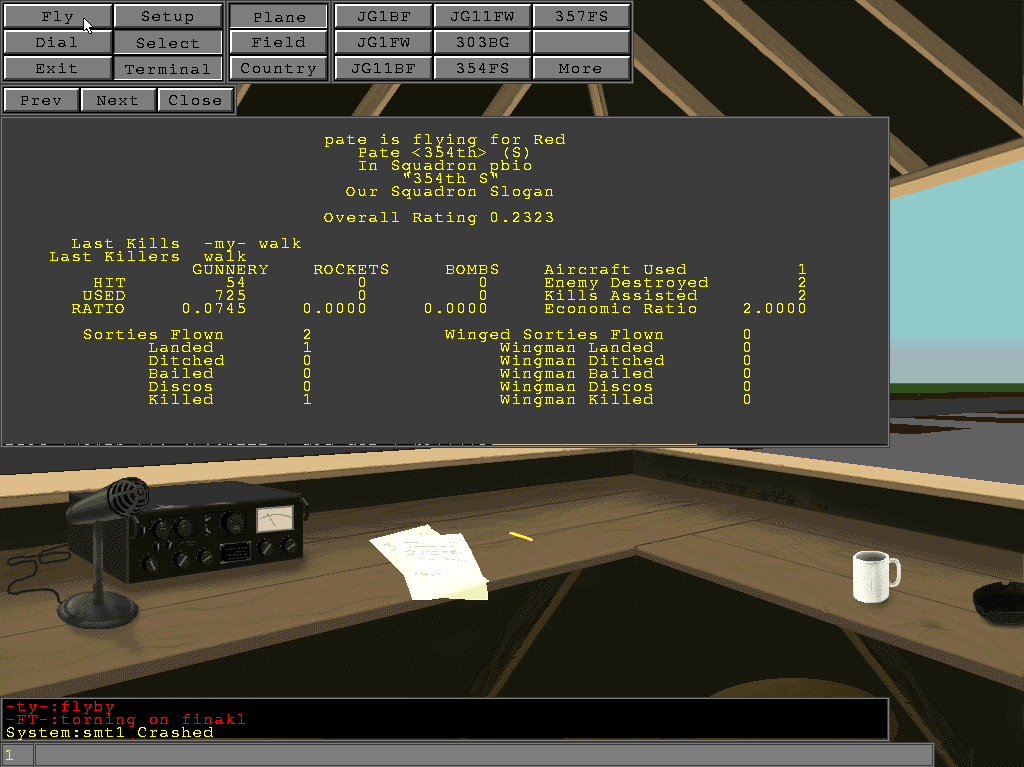
T+3:16 And here is my score, combined from the two missions I flew.. In the first
I died by colliding with "walk", killing him in the process, too. On this mission I killed
"-my-", got 2 assists, and even managed to land safely.